Admin Users and Power Users can add client-specific documentation to the Homepage or to specific Element Viewers. This is the way to provide links to Documents detailing news, changes, or instructions essential for company operation.
This article covers the process of adding existing documentation to the Metric Insights instance.
NOTE: There are no Privileges associated with adding Documents to Element Viewers, but Power Users will be restricted to:
- Elements to which Power User has edit access;
- Categories to which Power User has edit access;
- Folders to which Power User has edit access.
Power Users can create Global Documents if the Create Global Documents Permissions is granted to them.
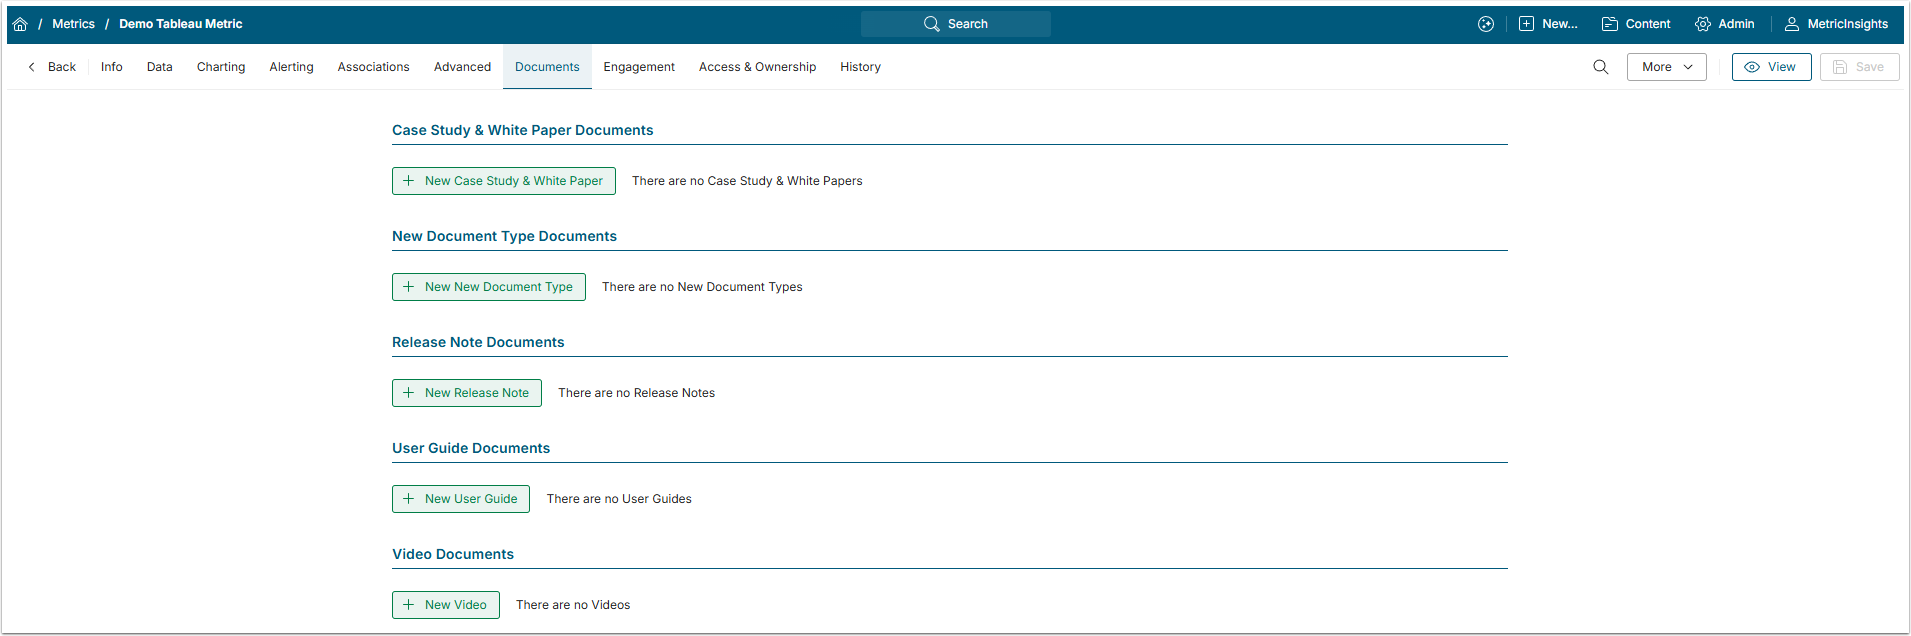
1. Start Adding a New Document
Access Content > Documents

Documents table shows the list of links to the documents that the User can attach to the Element.
- [+New Document] to create a new Document link.
- Activate the Global Document toggle switch to make the Document global.
- Type: Select a Document Type from the dropdown menu.
- Name: Enter a descriptive name for the Document.
- Source: Select the source of the Document.
- Enter the External link URL or [Select a PDF].
- [Save] to access the Documents Editor.
NOTE: Power Users may only edit or delete the Documents that they have created.
1.1. Alternate Method to Add Documents
To add a Document to a specific Element access its Element Editor and open Documents tab. Select the Document Type section and click [+ New <...>] to add a new Document.
2. Complete the Info Tab
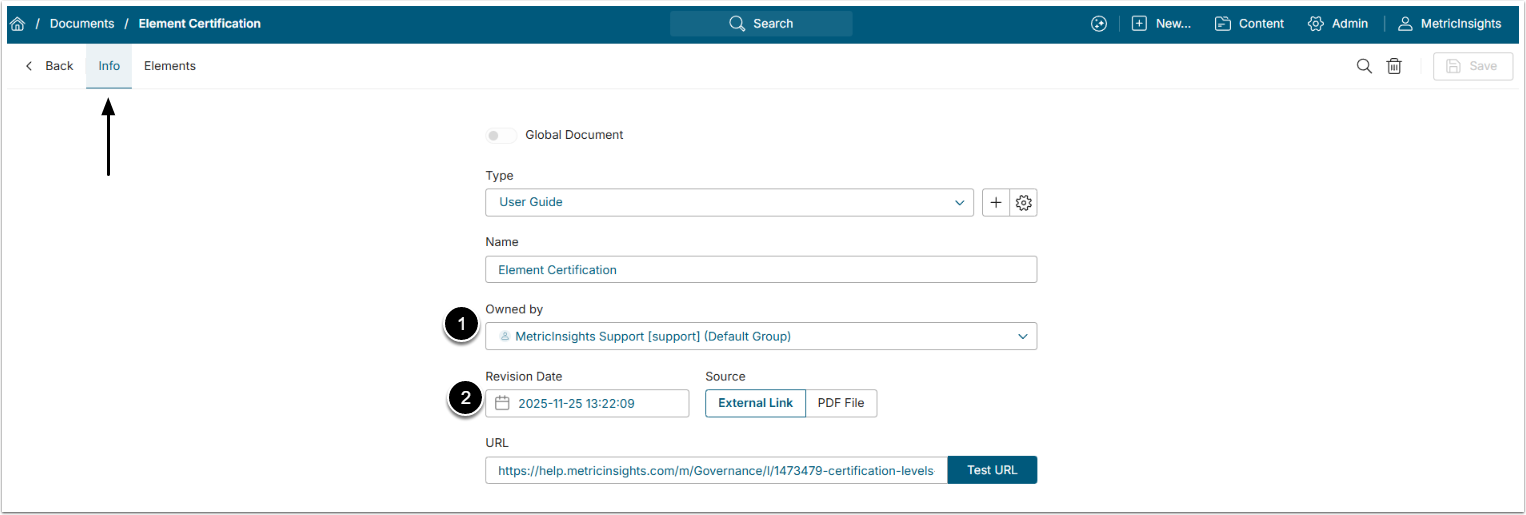
- Owned by: The owner of the Document can be assigned here.
- Revision Date: It defaults to current date and time but may be changed using the Calendar icon.
[Save] your settings.
3. Complete Elements Tab

- You can add Elements based on their Assigned Category or Assigned Folder or any combination of those.
- You can assign elements individually using a list.
- The Comprehensive Element list will be populated based on your choices in #1 #2.
[Save] the settings.
4. Global Document Features

Global Documents are the ones that can be seen by all Administrators. Power and Regular Users can see them if they are members of the Group assigned to the Global Document.
If Global Document toggle is switched on, the Sharing tab appears in the Document Editor. In that tab Document owners can define with what Users the Document will be shared.
4.1. Complete Sharing Tab

- Select User Types to share the Document with by switching on the corresponding toggles.
- Select Group to share the Document with.
After you select the User Types and Groups, the Users that are the members of chosen Groups and fit the chosen User Type will be able to see this Document in the Docs additional menu.
NOTE: The Docs additional menu won't become visible unless any User Type and Group is chosen.
NOTE: Be aware, that Administrators can see all the Documents on the Documents list page, Global or not, no matter is the toggle on, or off.