This article describes how to create a Report from a Dataset.
PREREQUISITES:
The Dataset Report is created from a Dataset, so use an existing one or Create a Dataset.
In this article:
1. Ways to Create a New Dataset Report
There are three ways to create a New Dataset Report.
1.1. From the Dataset Editor
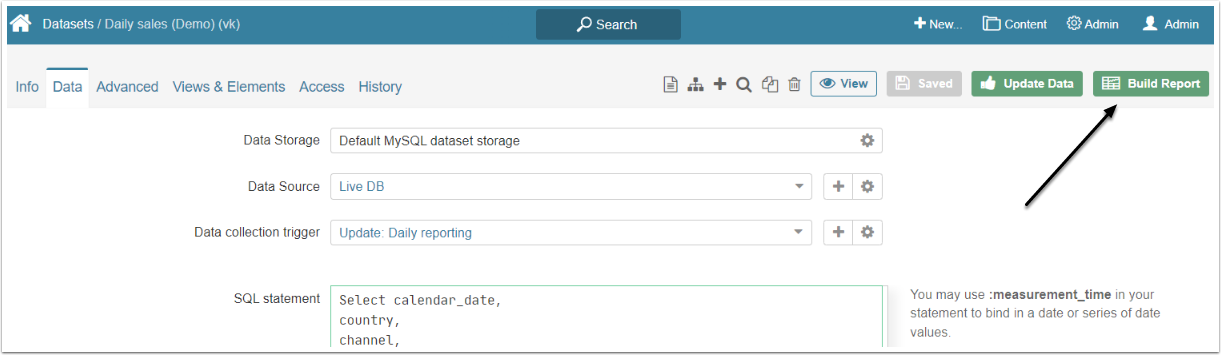
[Build Report] to open the Report Editor. This option will use the All Data Dataset View by default.
The User will land on the Content tab of a Report Editor, when creating a Report this way.
1.2. From the Dataset Viewer
Viewer opens after clicking [View].

Go to Actions > Build Report.
The User will land on the Content tab of a Report Editor, when creating a Report this way.
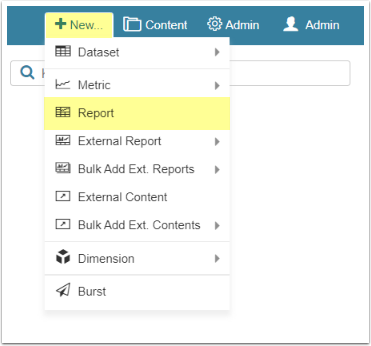
1.3. From the Menu
Access + New > Report
The Dataset or Dataset View that will be user as a source of data is defined in the Data tab of Report Editor.
The User will land on the Data tab of a Report Editor, when creating a Report this way.
2. Define the Basics
If the Report was created from the Menu, the User define the basics before landing in the Report Editor. If it was created any other way, go the Info tab.
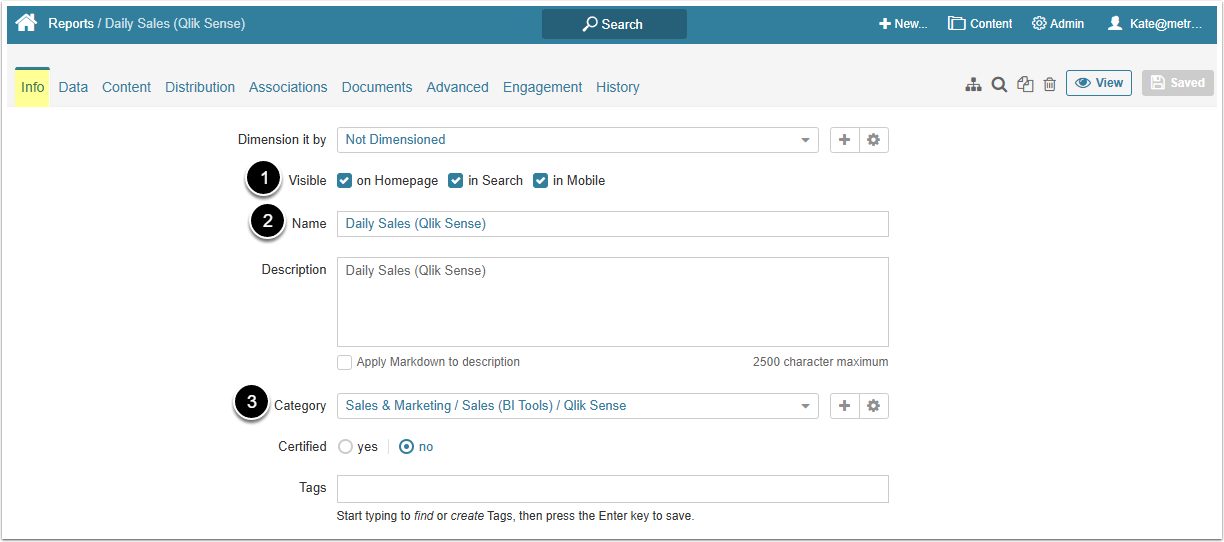
- Visible: Define where the Dataset Report will be shown.
- Name: Give the Report a descriptive name.
- Category: Select a category where the Report will be placed from the drop-down menu.
3. Define the Reports Content
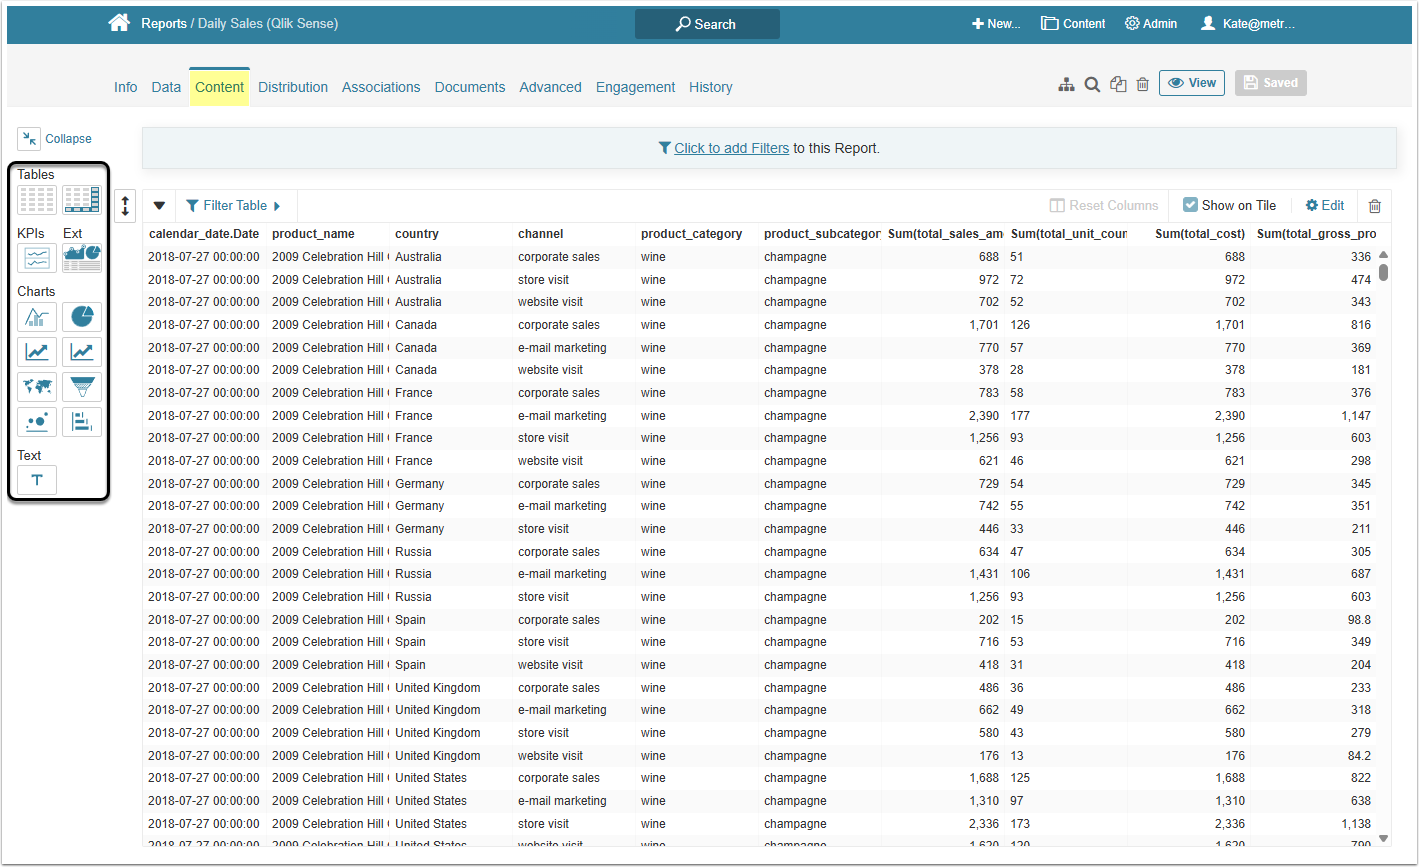
By default, the Dataset Report without any additional customization looks like a table with data. However, you can include additional components into the report if necessary.
For more details on what can be added to the Dataset Report, check:
4. Share the Dataset Report
Go to the Advanced tab.
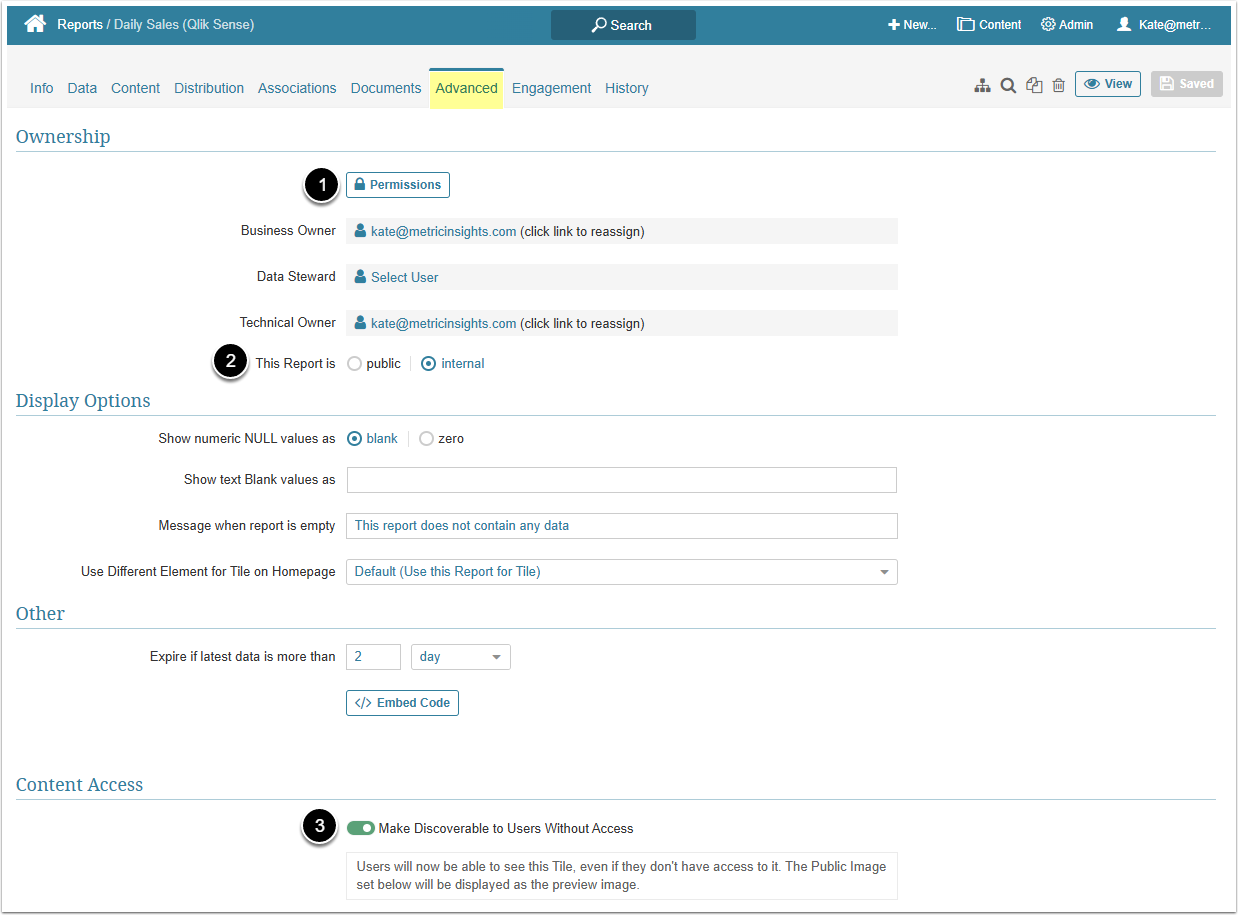
- By default, those Users who have access to the Category, where the Report is placed, will have access to the Report and all other Elements in that Category. However, it is also possible to give access to the Dataset Report to separate Users and Groups. For more details about this, check the Granting Power User Access to the Report article.
- Define if This Report is for all the Users to see, or only for yourself.
- This toggle switch defines if the Users who don't have access to the corresponding Category or the Report, can see it and ask for permission to access it.
When finished, click [Save] and then [View] to check how the Report looks like.