Announcements are designed to be used to inform Metric Insights Users of any news, changes, or instructions essential for the seamless company operation.
This article covers the process of creating an Announcement and its resulting look.
Announcements Features
- Multiple Announcements can be shown at once
- Announcements can be displayed on the Homepage, or specified Element Viewers, or both
- Users can set the beginning and end times for the Announcement to display
- Users are allowed to dismiss the Announcement after viewing
- Users can also accept the Announcement after viewing
- Power Users (PUs) have the Permission to create/modify Announcements on Elements they have View access to
- PUs can display their Announcements on the Homepage
- The display of Announcements is limited to Groups
1. Create a New Announcement
Access Content > Announcements
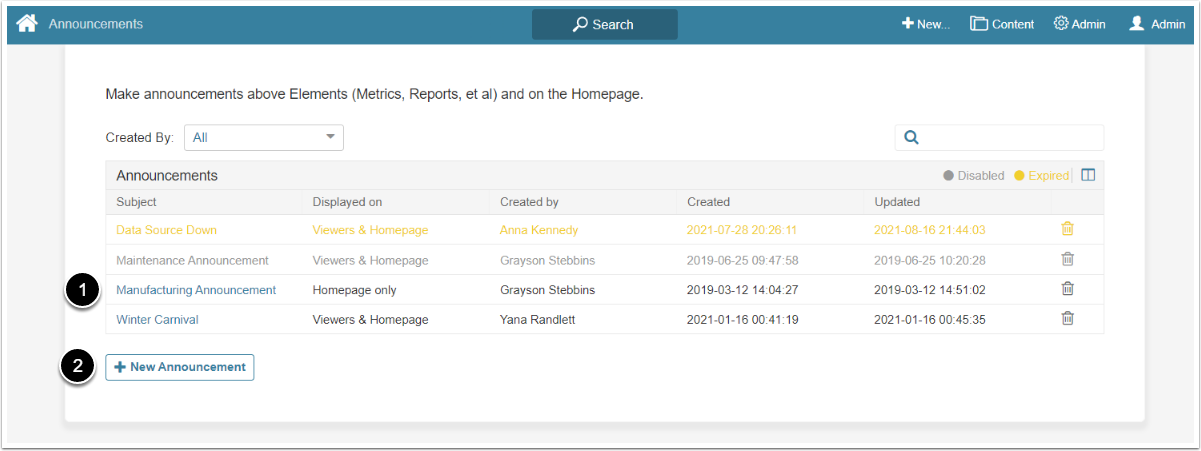
The list of existing Announcements displays:
- Edit any Announcement in the list (based on Security settings) by clicking its Active Name link
- [+New Announcement] to create a new one
Power Users may only edit or delete the Announcements that they have created.
1.1. Configure Announcement
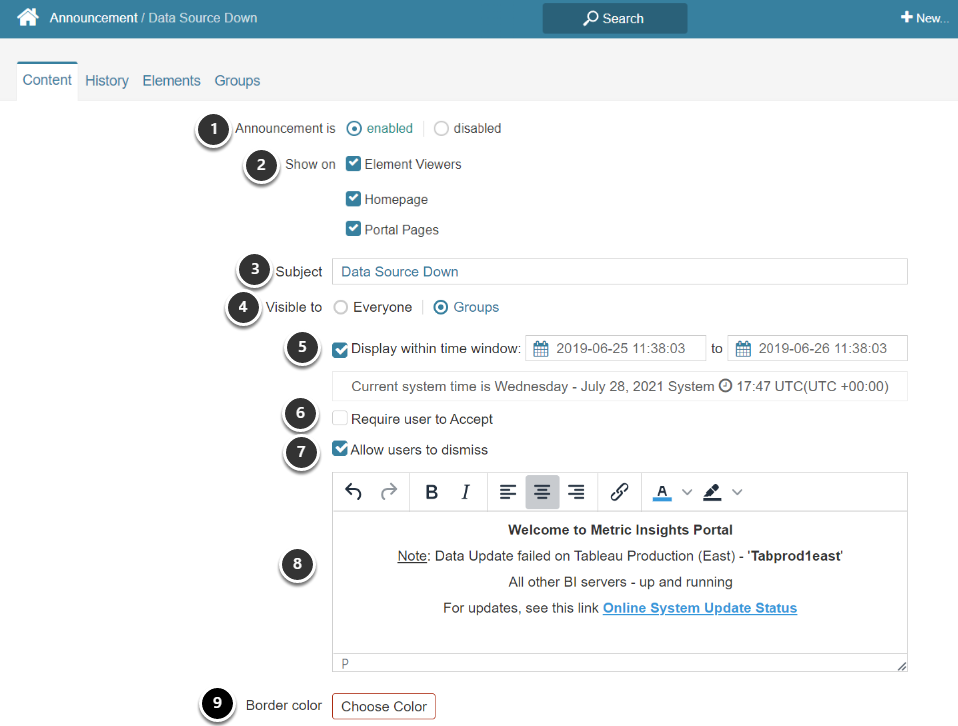
- Announcement is: Select "enabled" option
-
Show on: Choose where to show the Announcement:
- in "Element Viewers"
- on "Homepage"
- on "Portal Pages". NOTE: This option only creates a flag in the API. In order for an Announcement to show on a Portal Page, it has to be designed and coded as part of the Page.
- Subject: Select the Subject, that will be displayed on Announcement list, but not on actual Announcement
-
Visible to: Define either the Announcement is visible to "Everyone", or to specific "Groups"
- Groups can be set in the Groups tab
- Display within time window: Set how long and during what interval the Announcement should be displayed
-
Require user to Accept: If the checkbox is selected:
- When the announcement displays, the user would be prompted with an "Accept" link instead of our standard "Dismiss" link
- “Accepted By” grid is added to the History tab to track User's acceptance
- [Allow user to dismiss] button will be hidden
- "Accepted By" will dismiss this Announcement from User's display
- Allow user to dismiss: If this sheckbox is selected, each User may choose to remove the Announcement from his View of Homepage and Elements
- Create an Announcement message in the text field
- Border color: Choose the color of the border using the standard color chart
[Save] your settings.
2. History Tab Settings
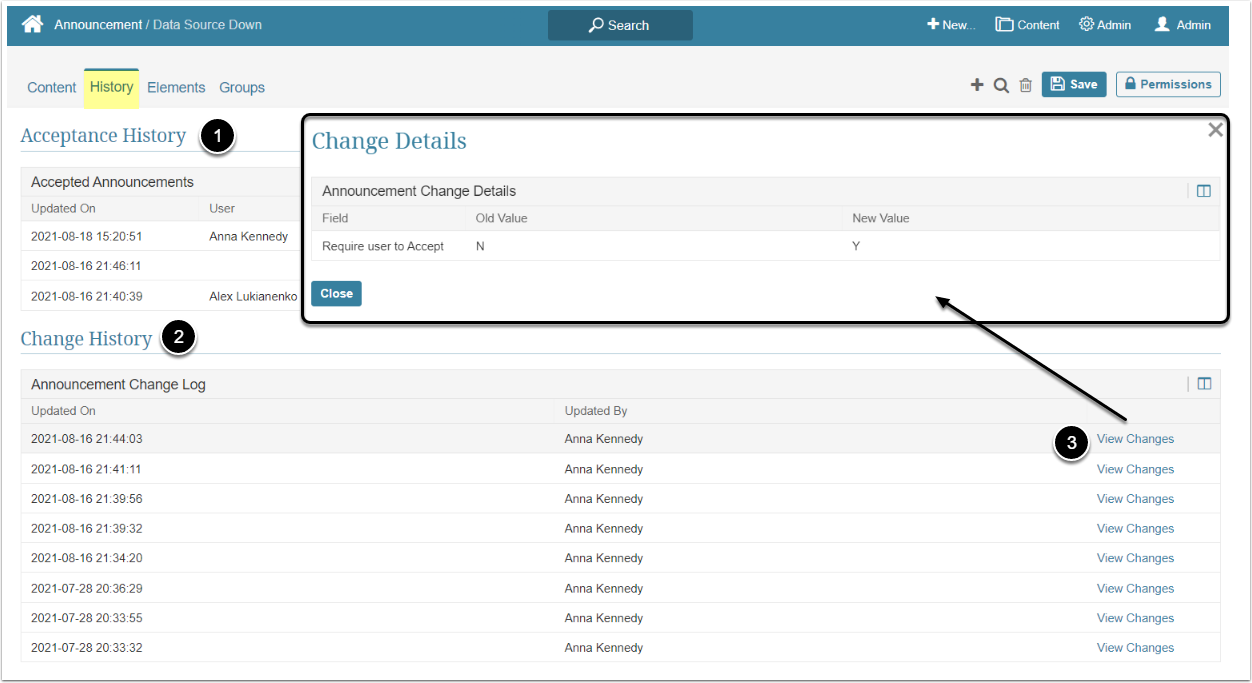
- Acceptance History: Depending on your settings, the first grid will display the list of accepted and dismissed Announcements
- Change History: Contains the change log of the Announcement
- Click View Changes to open the Change Details window that displays specific field changes
3. Elements Tab Settings
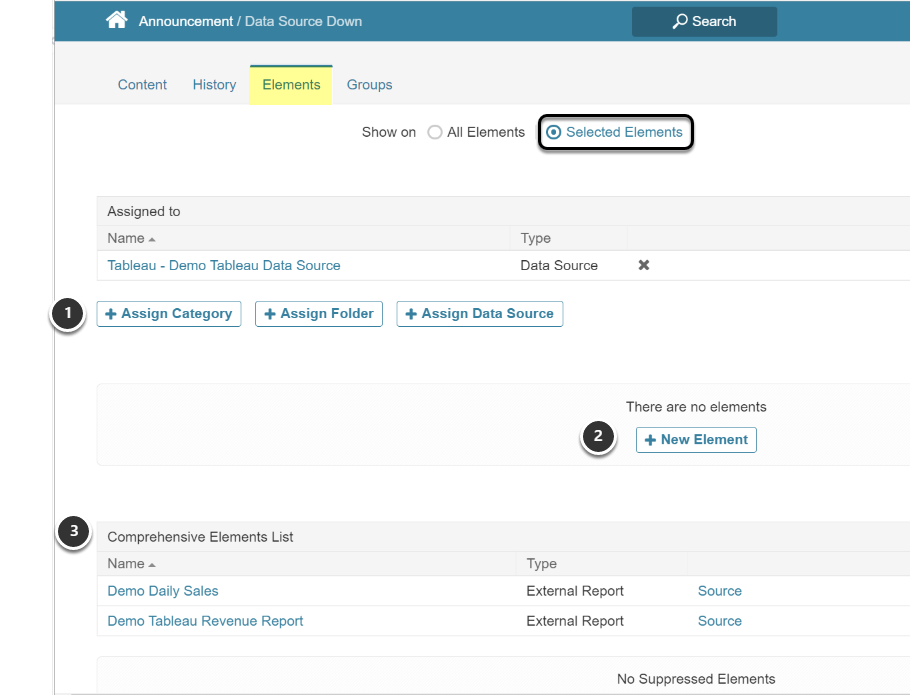
If you choose to Show on "Selected Elements", the following sections will display:
- You can add Elements based on their Category, Assigned Folder, Data Source, or any combination of those. In this example, we are only going to display the message for those Elements using the Tableau database
- You can assign Elements individually from the list
- The Comprehensive Element List table will be populated based on choices in #1 & #2
4. Groups Tab Settings
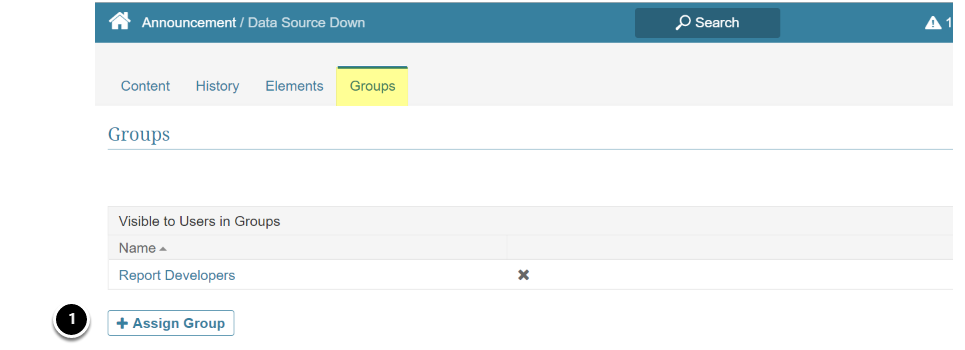
[+ Assign Groups] to add display of Announcement to Users based on their Group Membership(s).
5. Sample Announcement on Homepage and Element Viewers
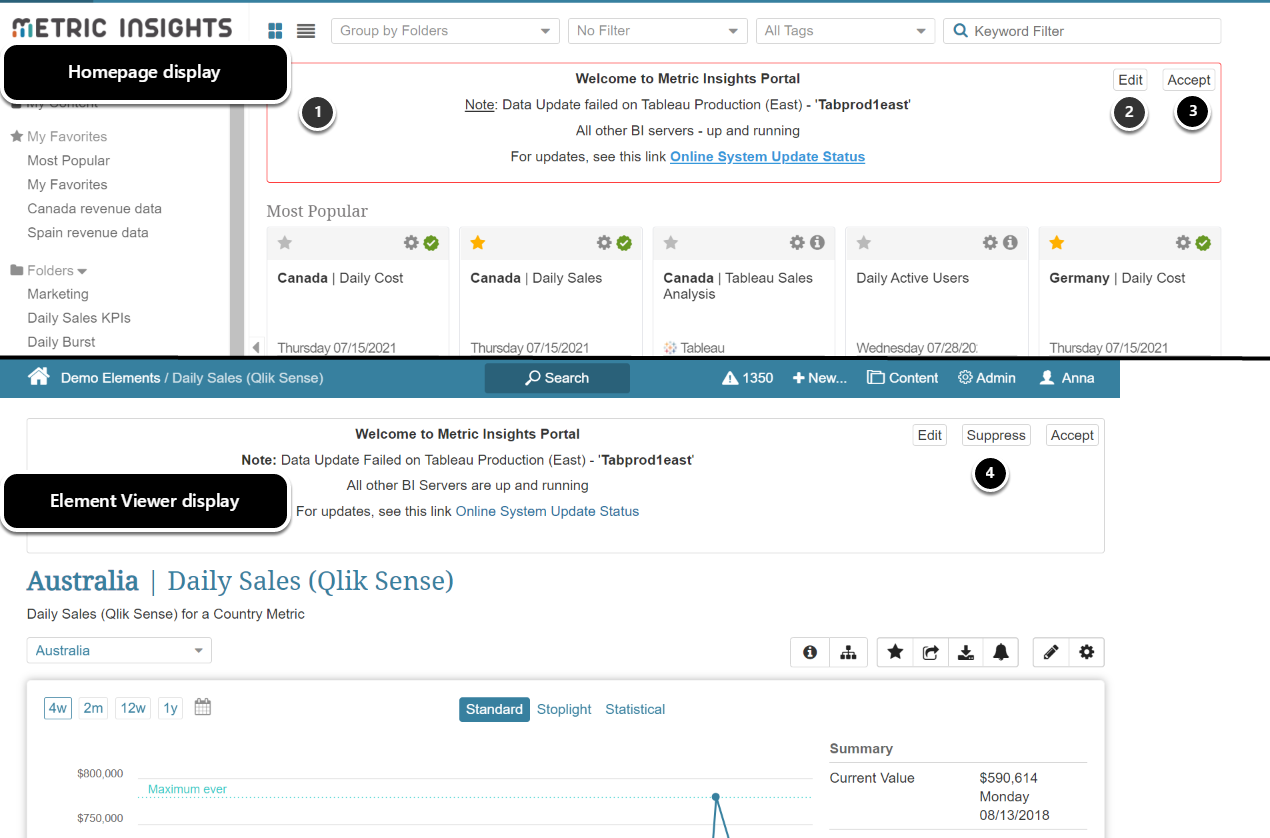
- Announcement displays both on the Homepage and on selected Element Viewers
- [Edit] button displays for users that can edit the Announcement
-
[Dismiss] or [Accept] buttons display based on setting in the Announcement Editor
- Clicking either of the buttons will remove the Announcement from Homepage and all Elements for you only
- [Suppress] button will display on Element Viewers only
- Clicking it will remove the Announcement from this element only for all Users