Transferring users is a significant step in configuring your Metric Insights instance. Metric Insights offers a range of tools to help ensure the process is smooth and reliable.
Please refer to this article to explore the recommended User onboarding functionalities, administrator roles required, and the things that need to be considered before starting the upload process.
General Instance Configuration Workflow
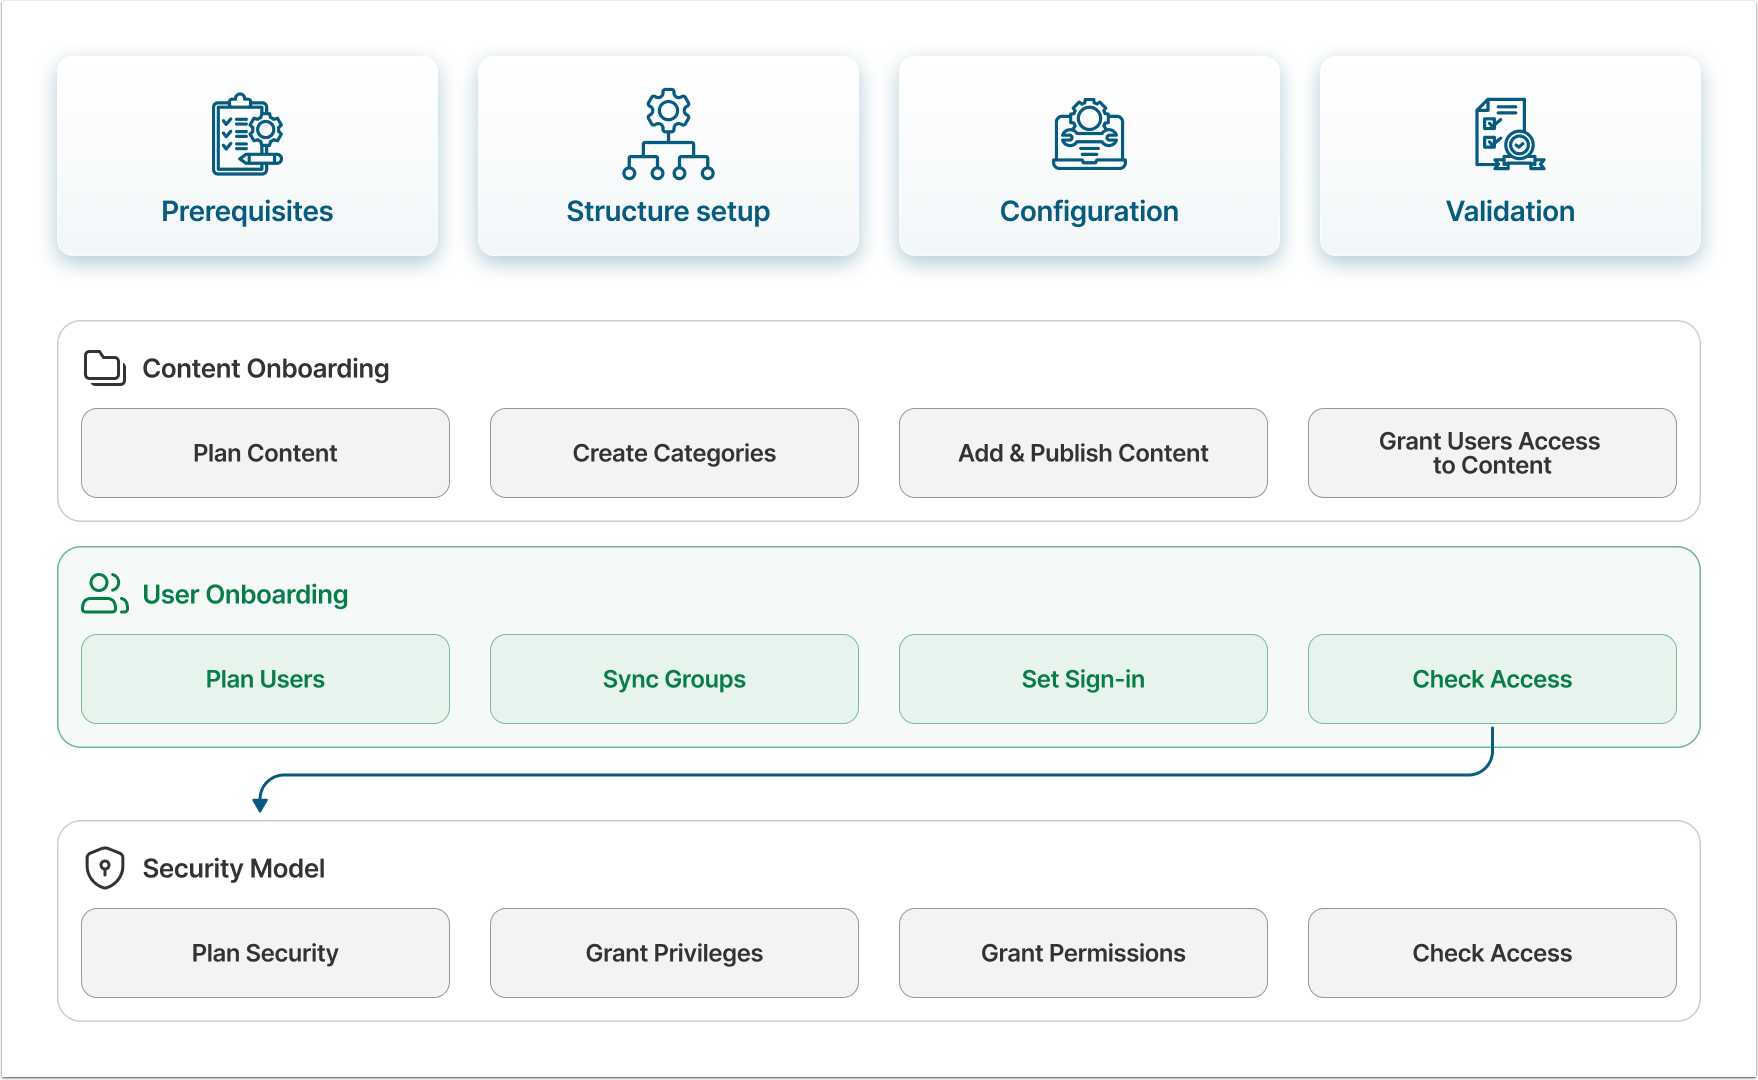
There are three essential steps in the Metric Insights instance configuration process: bringing in content and users, as well as building a security model. The recommended sequence is as follows:
- Onboard the content from external BI tools;
- Bring in Users;
- Give Users access to content.
Create Groups of Users
The best practice for the Metric Insights security model is to assign content access to Groups instead of individual Users, so organizing Users into Groups significantly streamlines content access management. All access rights granted to a Group are directly inherited by its members. By managing access at the Group level, you can control what all users within that Group are permitted to do in Metric Insights, and tailor the security model to your organization's requirements.
While Metric Insights provides the functionality to create Users and Groups manually, in most cases, this approach requires a significant amount of time and effort. Besides, most organizations use an identity management platform (like SCIM, LDAP/AD, or Okta SAML) to manage their users. Metric Insights has a set of tools that allow you to bring users from those identity management platforms to the MI instance automatically:
- Synchronize existing Groups and Users. This approach ensures that all User accounts created within a user management tool are automatically created in the Metric Insights instance and assigned to the appropriate Groups.
- First Sign-On Authentication. With this method, User accounts are created automatically at the moment the User logs in.
Depending on your organization's user management strategy, you can combine different tools. For example, you can create Groups by syncing them with Active Directory and then populate them with users using SCIM. You can also bring several Groups with Users included into MI using SCIM, and then configure First Sign-On Authentication for the rest of your Users.
Sync Existing Groups and Users
If you choose to use Auto Sync, all specified Groups and Users that exist in the user management tool will be created in the MI instance. Metric Insights uses a specialized script for it. The synchronization process operates as follows:
- The script adds external Groups to Metric Insights, along with their assigned Users, while preserving the exact Group naming convention.
- If a User in a Group being synced does not yet exist in Metric Insights, the User is automatically created in MI as needed.
- Unless otherwise specified via the --user-type parameter, the User is created as a Regular User with no assigned access rights (Privileges or Permissions). Only informational profile data is included, along with the User's assigned Group: User ID, email address, first name, and last name.
Groups and Users can be synced using:
- SCIM via Microsoft Entra;
- SCIM is the recommended approach for user onboarding. It reduces MI's burden for maintaining sync configuration;
- Okta SAML via 'mi-okta-usersync' Script;
- Office 365 Groups via 'mi-o365-usersync' Script;
- LDAP/AD via 'mi-ldap-usersync' Script.
Sync Custom Attributes
The same custom script can be used to synchronize custom attributes (like "Hometown", or "Team") for LDAP, Okta SAML, and Microsoft Office 365. Each custom attribute that needs to be synced must first be created in MI. Once created, all synced custom attributes are displayed in the User/Group Editor.
Refer to the Syncing Custom Attributes for Users and Groups article for more details.
First Sign-On Authentication
Metric Insights provides a feature that enables User account creation upon first successful login. Once you configure the authentication method, Users will be able to log into the Metric Insights instance using the same credentials they use for other tools within your organization.
Metric Insights supports the following authentication methods:
Moving Users Between Groups
If necessary, Users can be moved from one Group to another. If there's a significant number of Users that need to be moved between Groups within a Metric Insights instance, best practice is to perform this in bulk. For a detailed guide, please refer to the Moving Users Between Groups in Bulk article.
Required Administrator Roles
| Role | Responsibilities |
|---|---|
| Identity Management Platform Administrator |
|
| Metric Insights Administrator |
|
Recommendations Before Start
Before beginning the transfer process, it's best to prepare all the key components in advance. You'll need to:
- Identify the users who require accounts in Metric Insights and determine their User Types according to Metric Insights standards.
- Determine what Groups you'll need. In Metric Insights, the Group a user belongs to defines their content access rights, so it's important to plan your Group list beforehand.