This article covers the Metric Insights' Security Model best practices for new customers using a single sign-on application.
In this article:
Recommendations
Before staring it is recommended that you:
- Identify those Users who need accounts in Metric Insights and determine User Type.
- Determine potential Groups, Categories, and Elements required by each User Type.
- If needed, request that a new LDAP group be created.
- Designate an early adopter organization and integrate with MI using mi-ldap-usersync script.
1. Create Groups of Users
Extending or limiting capabilities for specific Groups of MI Users is possible via creating custom Groups. Decide how to proceed with it:
- Create a custom Group in Active Directory, sync it with MI, and assign the required Privileges or Privilege Sets.
- This option is convenient for maintaining and managing centrally a large Group of Users.
- Create a custom Group directly in Metric Insights and assign the required Privileges or Privilege Sets.
- This option is convenient for small Groups.
2. Sync Groups and Users
For synchronization Metric Insights uses a specialized script. That script syncs Groups and Users in those Groups first versus syncing individual Users. The process is as follows:
- The script adds external Groups to Metric Insights along with their assigned Users and preserves the exact same Group naming.
- If a User in a Group that is being synced does not yet exist in Metric Insights, the User will be created in MI, if required.
- If not specified in the --user-type parameter, the User is created as Regular User without any Privileges or Permissions. Only informational data for the User's profile, along with its assigned Group is included: User ID, email address, first name, and last name.
Groups and Users can be synced using two methods. Decide which one you prefer:
- From LDAP/AD via the mi-ldap-usersync script;
- Or from SAML-based Identity Provider (like Okta) using mi-okta-usersync script.
The differences between those two methods lie in the way the Users are created:
| Method | Account is created | Source of group membership | Key behavior | Typical use case |
| LDAP Sync | Before the user ever logs in | Active Directory or O365 group membership | The LDAP sync job periodically scans specified AD/O365 groups and automatically creates accounts in Metric Insights for all matching members. These accounts exist and are group-assigned even if the user has never signed in. | Ensures all required users are ready in the system ahead of time, often for controlled rollouts, distributions/Bursts, or pre-assigned ownership. |
| SAML on first login | At user’s first successful sign-in | Active Directory or O365 group membership | When the user logs in through SAML for the first time, Metric Insights automatically creates their account and assigns them to groups based on the mapping returned from LDAP sync. | Best for just-in-time provisioning, where you don’t need accounts until users actually log in, reducing unused accounts. |
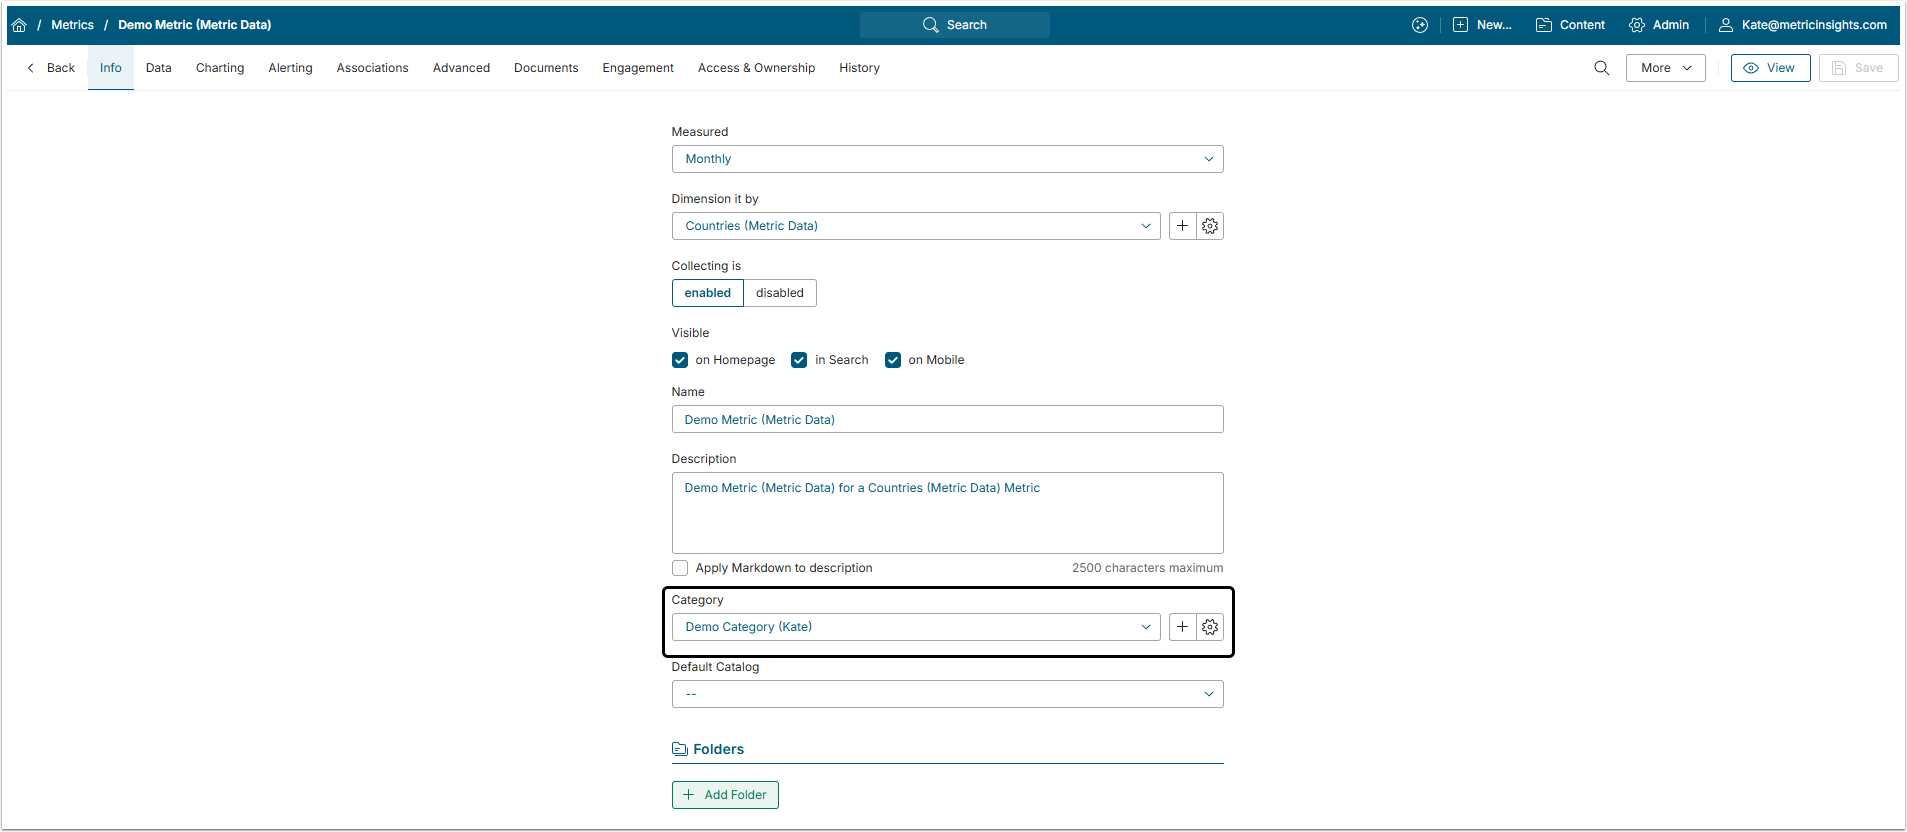
3. Create Categories and Assign Elements to Them
Categories are used to group content by topics or roles and responsibilities of those using them. An Element can't be created without assigning it to the Category, but Elements can be assigned to the default Uncategorized Category. However, it is strongly recommended that content is assigned to a relevant Category to avoid unauthorized access to data.
When the Elements is created, it can be moved between Categories as needed.
4. Assign Privileges and Permissions to Groups
There are two key concepts when it comes to the metric Insights security: Privileges and Permissions.
- Privileges, or functional access, define what a user can do in the system, like creating Reports or managing Users.
- Permissions, or content access, define what a user can see. These are applied to specific Objects, ategories, or folders, allowing for granular control such as view or edit access.
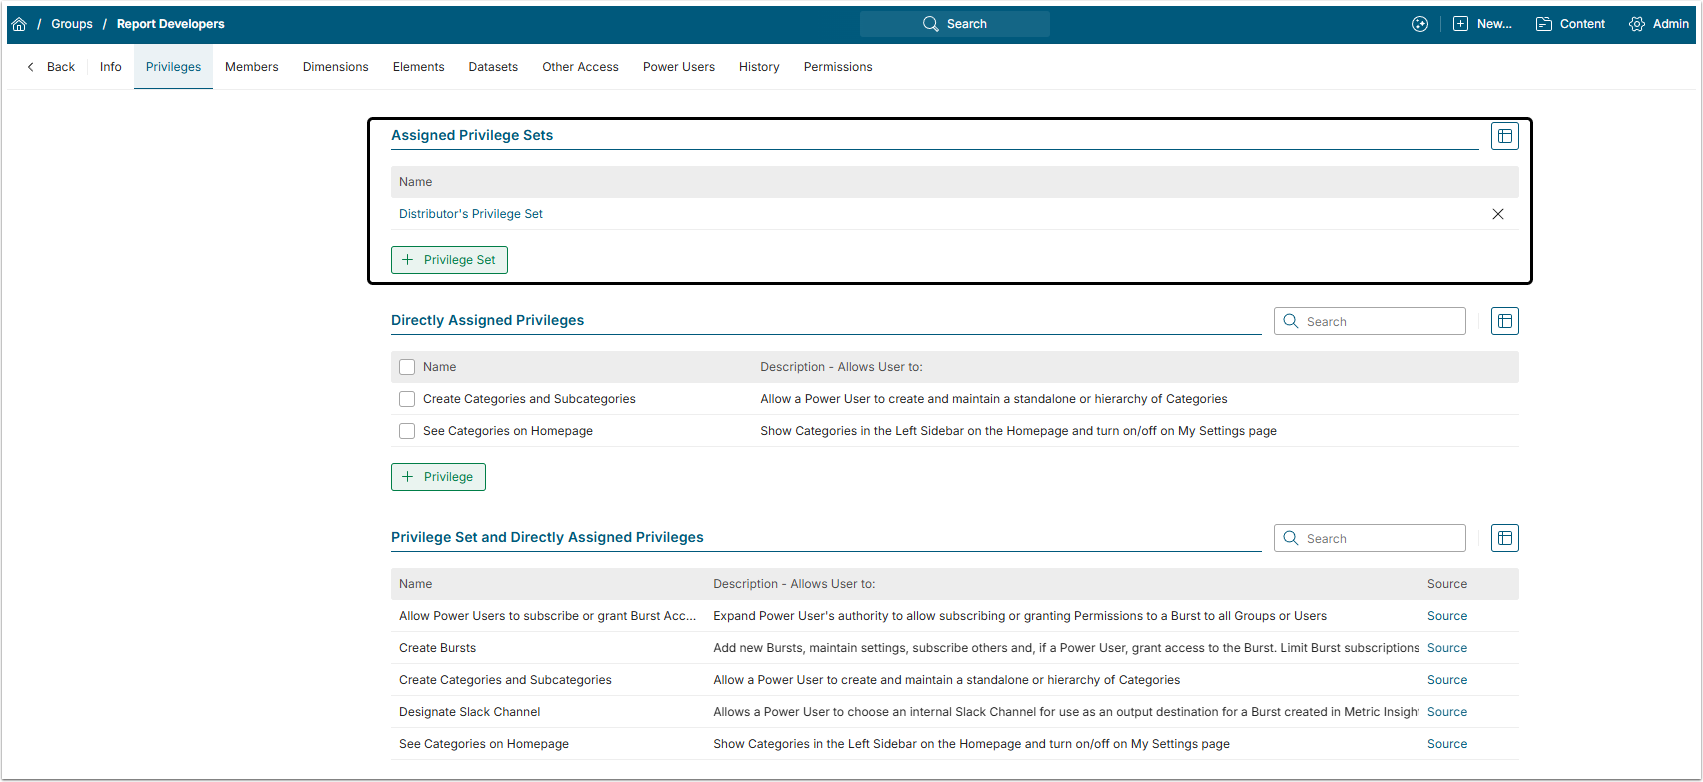
4.1. Privileges
Privileges assigned to a Group are inherited by all Group members.
You can assign Privileges individually, but it is recommended to assign Privilege Sets to Groups. This will make security measures much more consistent.
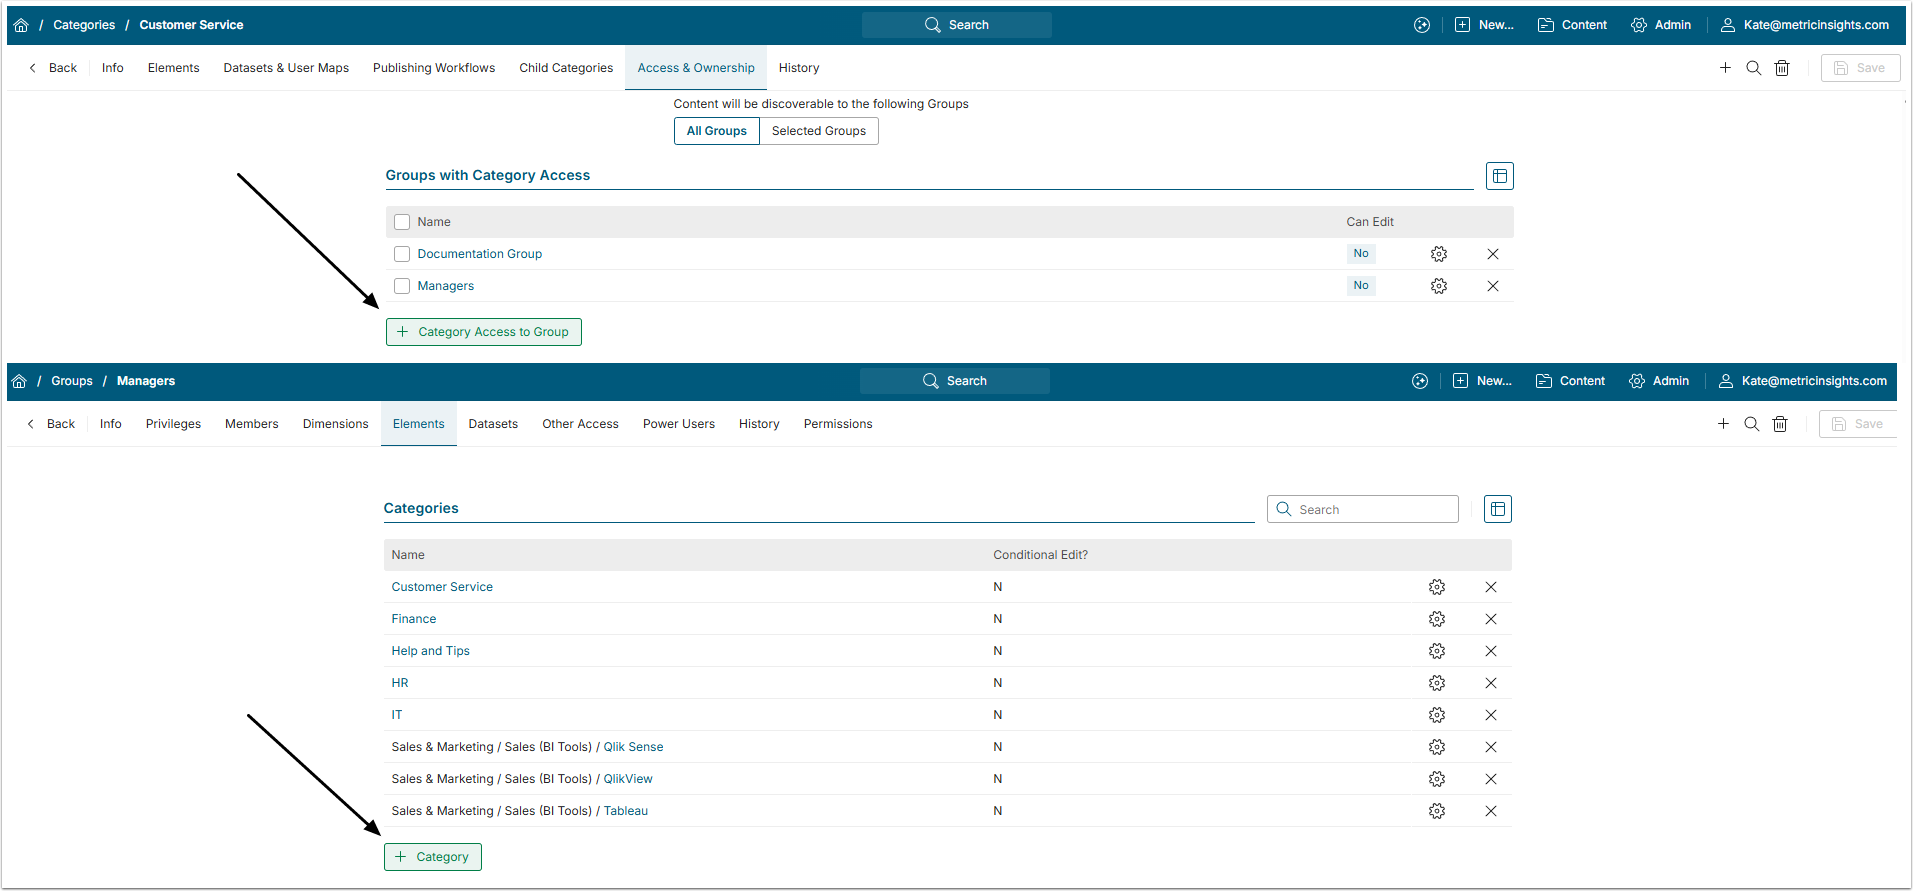
4.2. Permissions
In Metric Insights, every individual User can be granted Permission to see or edit any separate Element. However, it is recommended to give Permissions to Groups instead of individual Users, as well as give it to the Categories, not separate Elements or Objects in that Category.
This can be done either from the Category Editor or from the Group Editor.
5. Apply User Maps for Content Security
A User Map is a Dataset that describes what access each User in a list has. Depending on the Element to which it is applied, it either restricts the User from seeing some of the Filter Values or applies a default Value to a specific User.
There are two types of security, based on the User Map and you have to decide which one is better for you:
- Dimension-Level Security: By applying a User Map to a Dimension, you can control which specific Dimension Values each User or Group is allowed to see. Once configured, the User Map automatically enforces these restrictions across all related Elements—Metrics, Reports, and External Reports—so each User only sees their permitted Dimension Values. For more information, refer to this article.
- Row-Level Security: Implemented via User Maps, it restricts data at the row level in the underlying Dataset, granting Users/Groups access only to the rows that match their assigned values. For setup details, refer to this article.