This article describes a step of Connecting to Fabric Data Agent MCP Server (v7.2.0, v7.2.1). Register an Azure app and collect credentials for the authentication process.
Prerequisites:
- Azure Administrator account;
- The Item.Execute.All permission for the App.
In this article:
- Open Azure Account
- Add New App Registration
- Register an Application
- Add Permissions
- Get Credentials
- Get Group Name
1. Open Azure Account
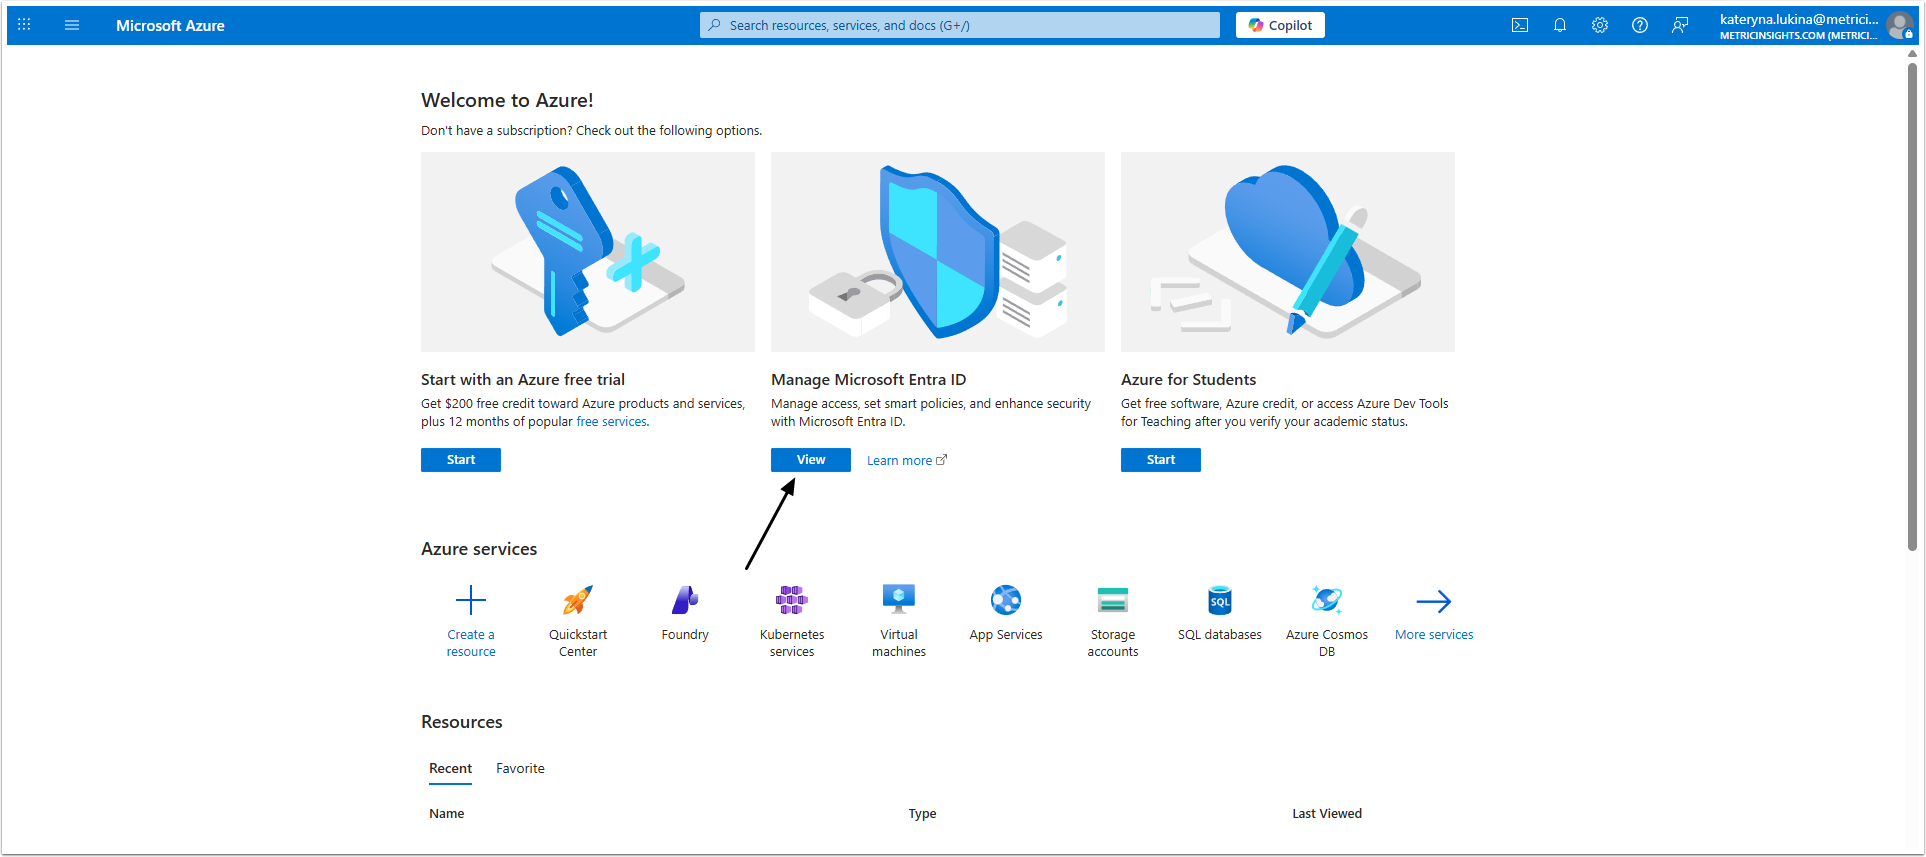
Find Microsoft Entra ID service and open it.
2. Add New App Registration
Access Manage > App registrations
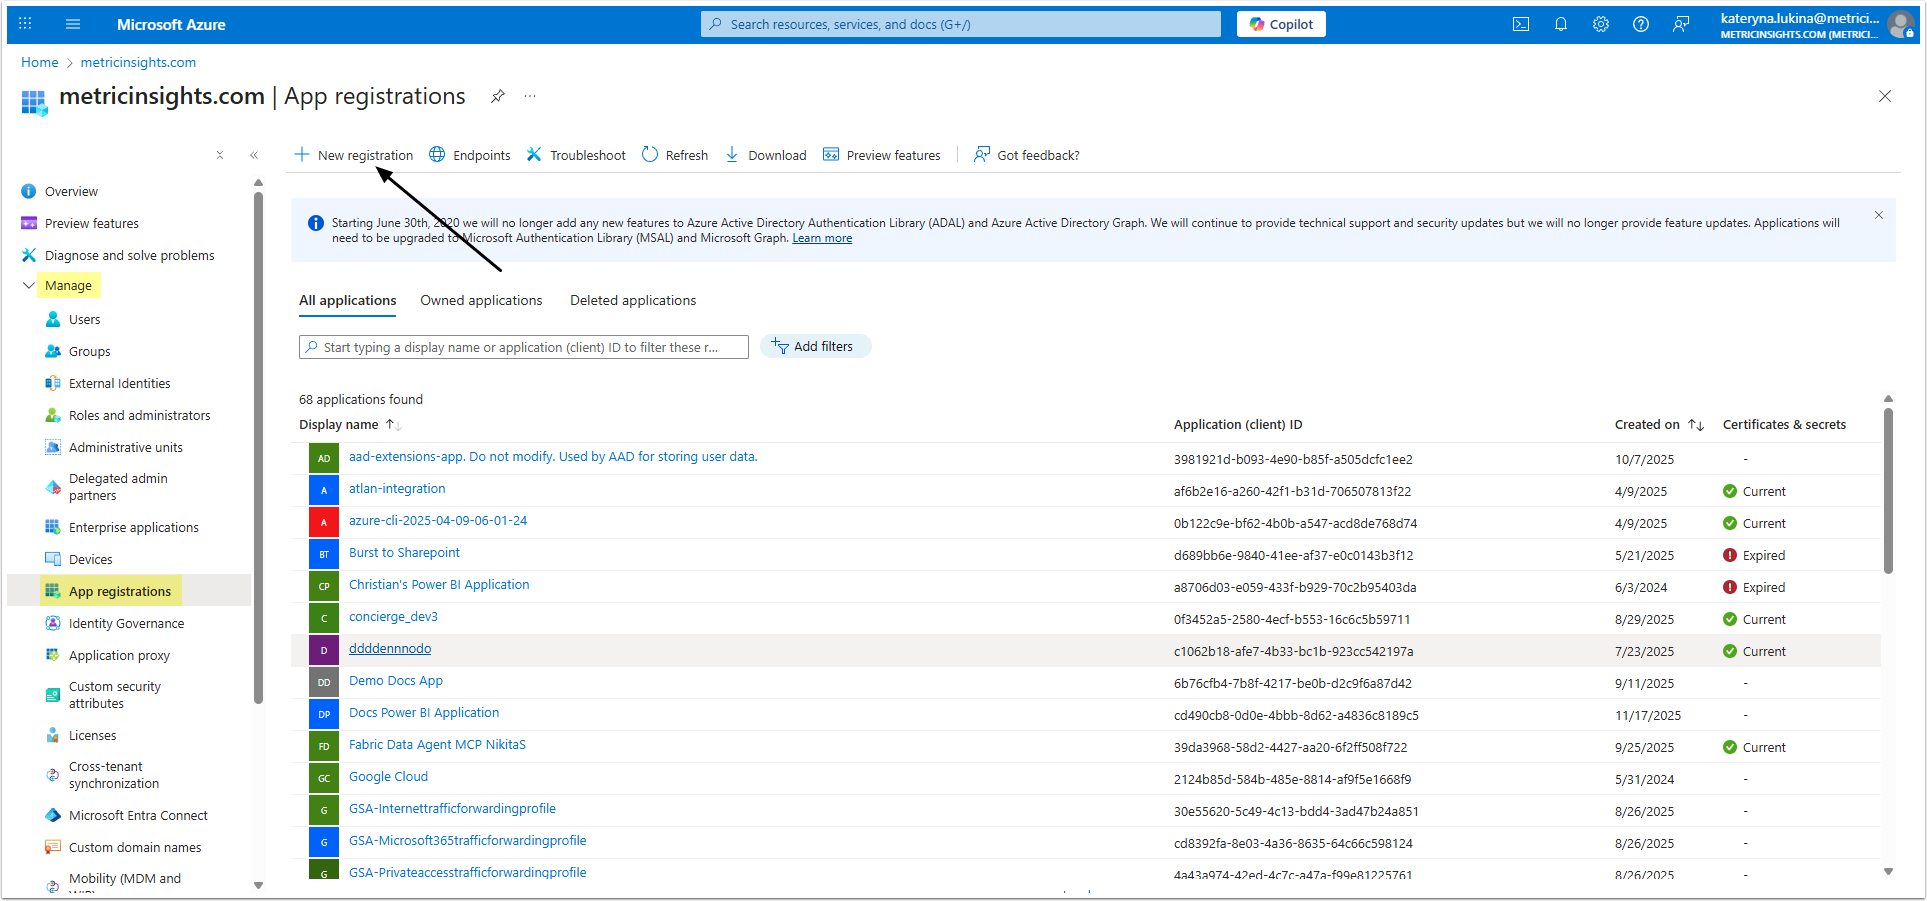
If you already have an App to use with Concierge, open it and check if it has the necessary Permissions. After that proceed to Step 5.
Click [+ New registration].
3. Register an Application
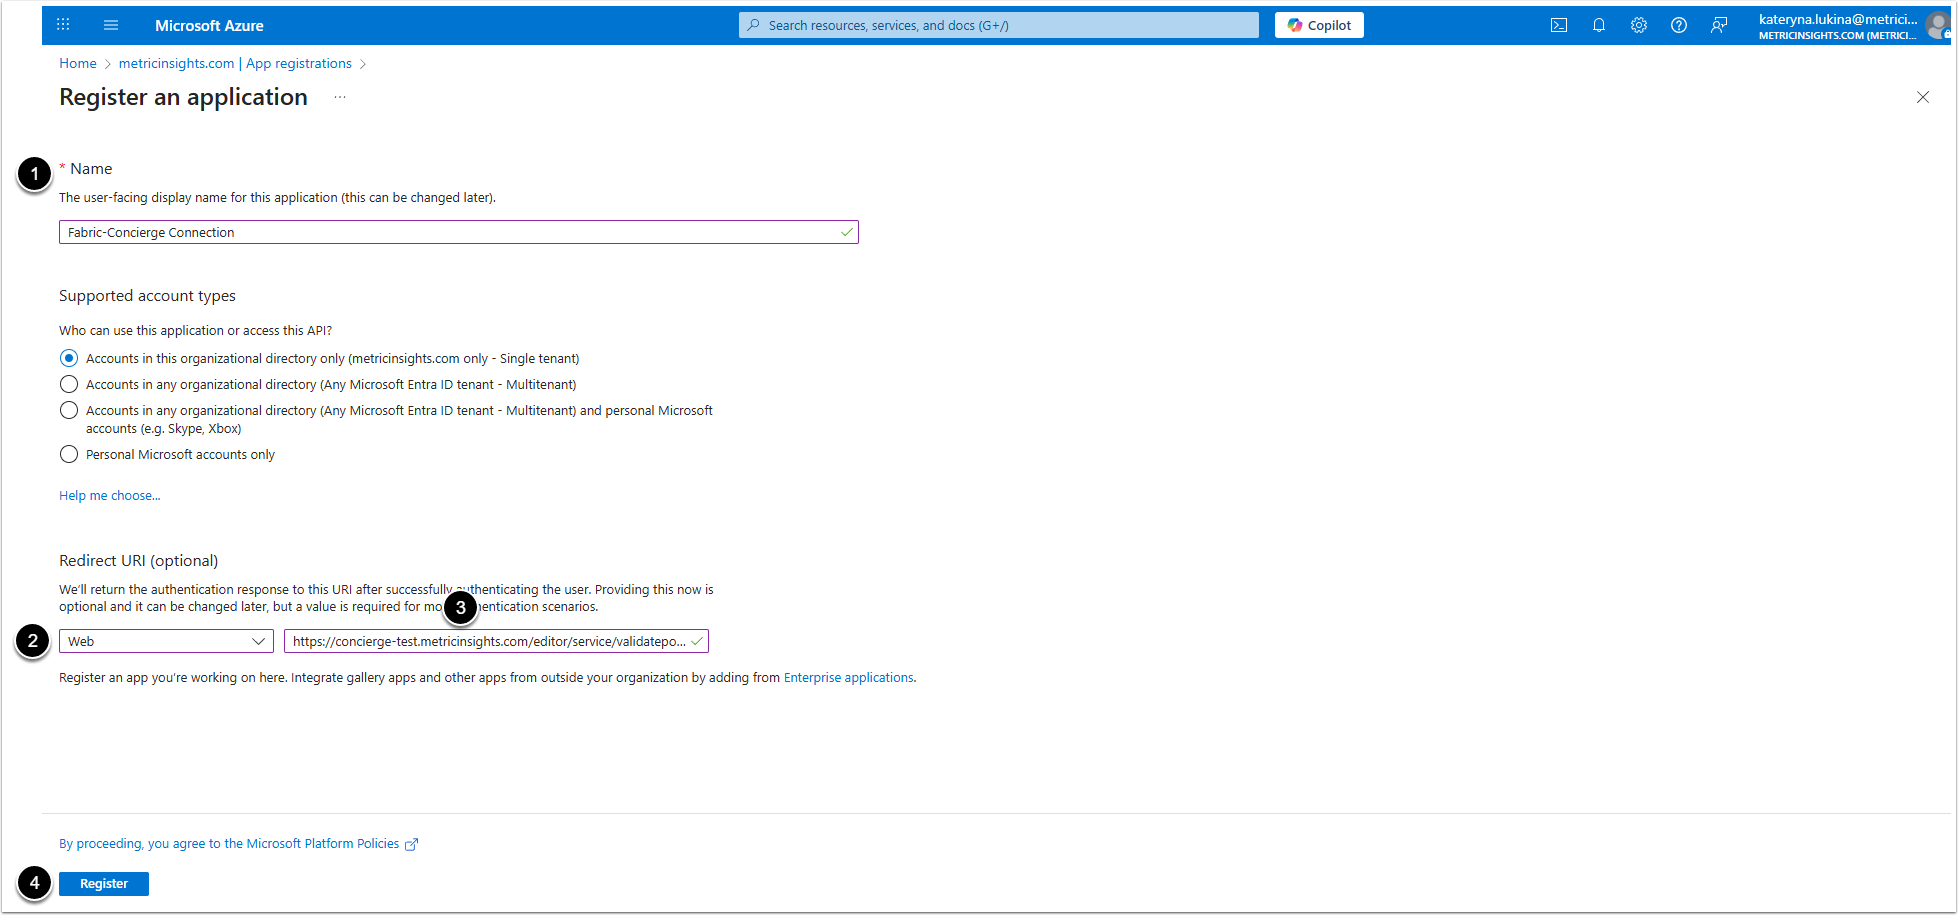
- Name: Give the application a descriptive name.
- Select "Web" option from the drop-down menu.
- Insert "[your MI instance URL]/editor/service/validatepowerbioauth" link.
- [Register]
4. Add Permissions
Access Manage > API permissions
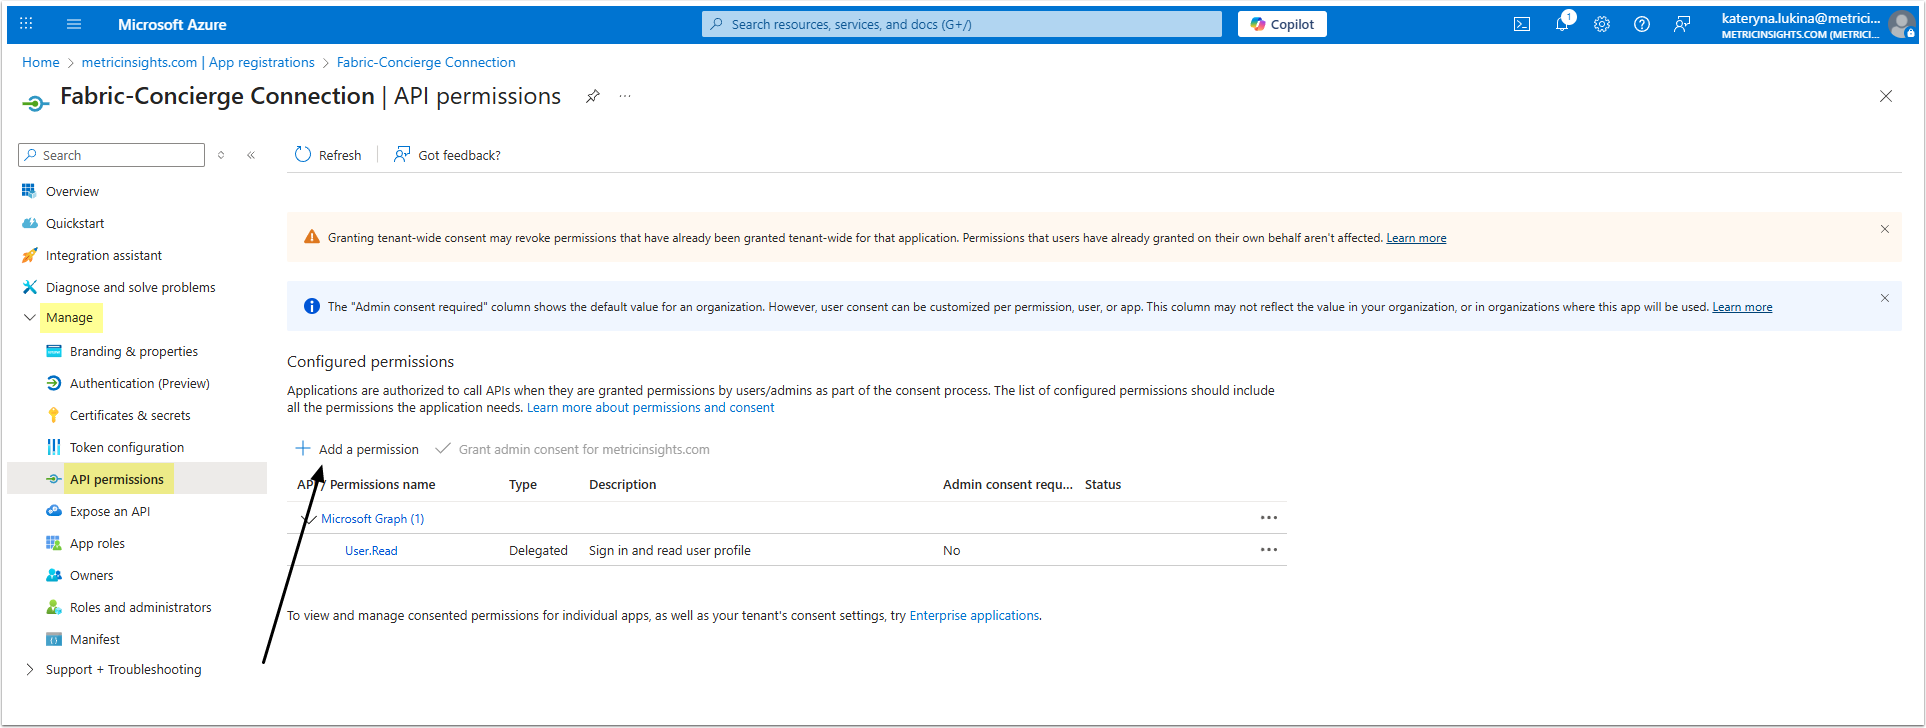
Click [+ Add a permission].
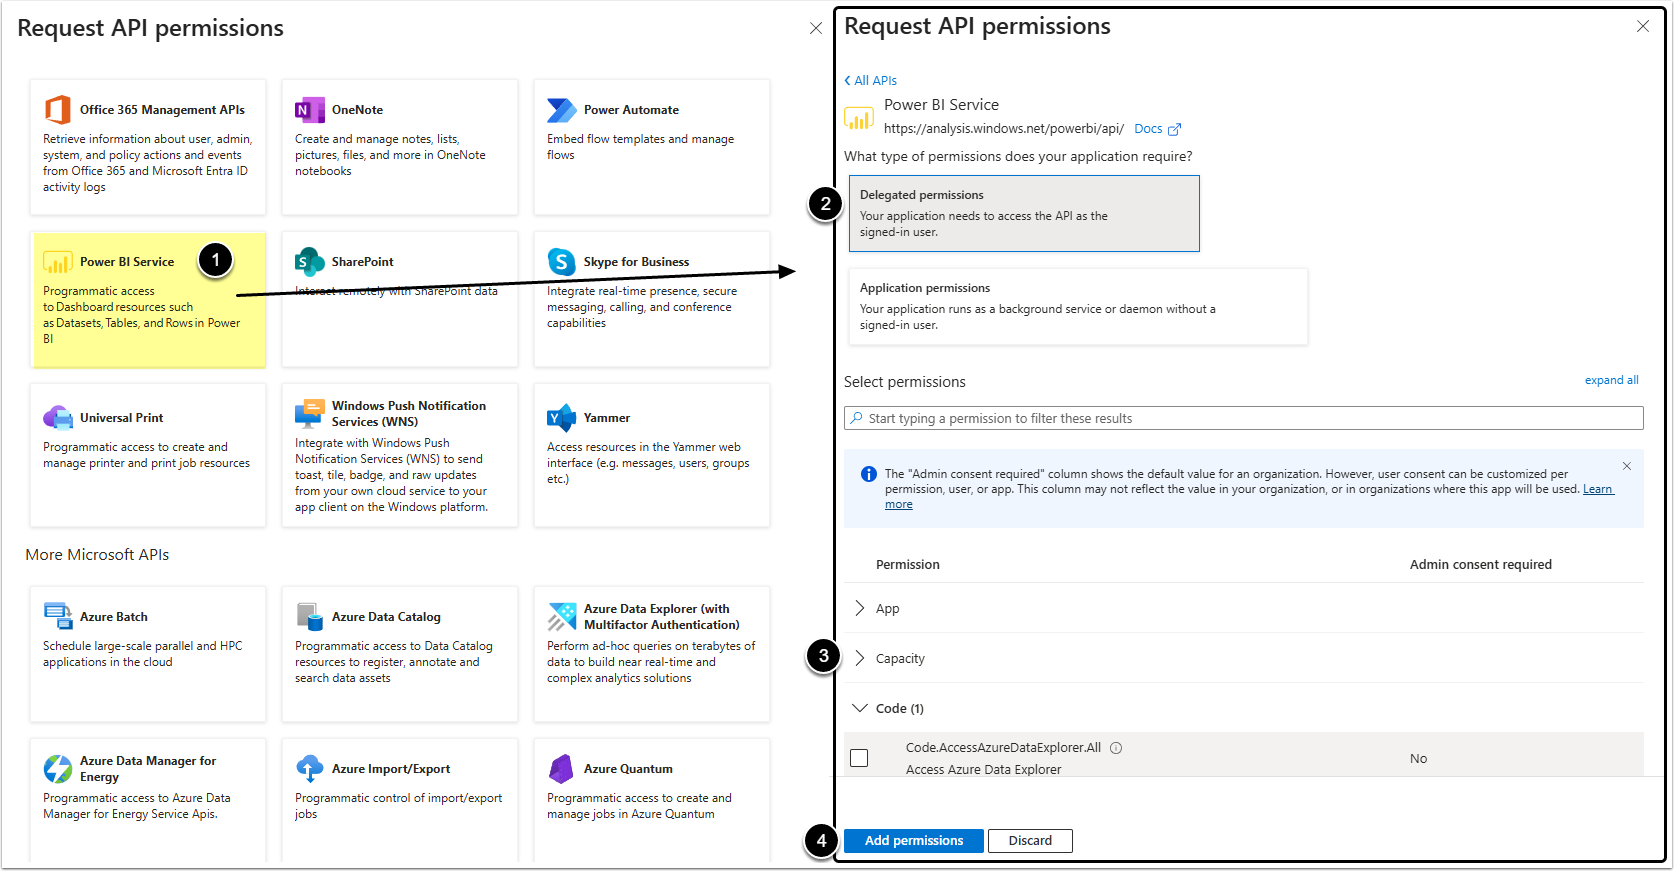
- Select Power BI Service.
- Select Delegated permissions option.
- Select the checkbox of:
- Item
- Item.Execute.All
- Item
- [Add permissions]
NOTE: Make sure all those permissions are granted. A "Granted for <...>" status has to appear in every Permission row.
5. Get Credentials
If "User OAuth" is selected as the authentication type, collect the required authorization credentials.
5.1. Get Application ID and Directory (Tenant) ID
Go to Overview
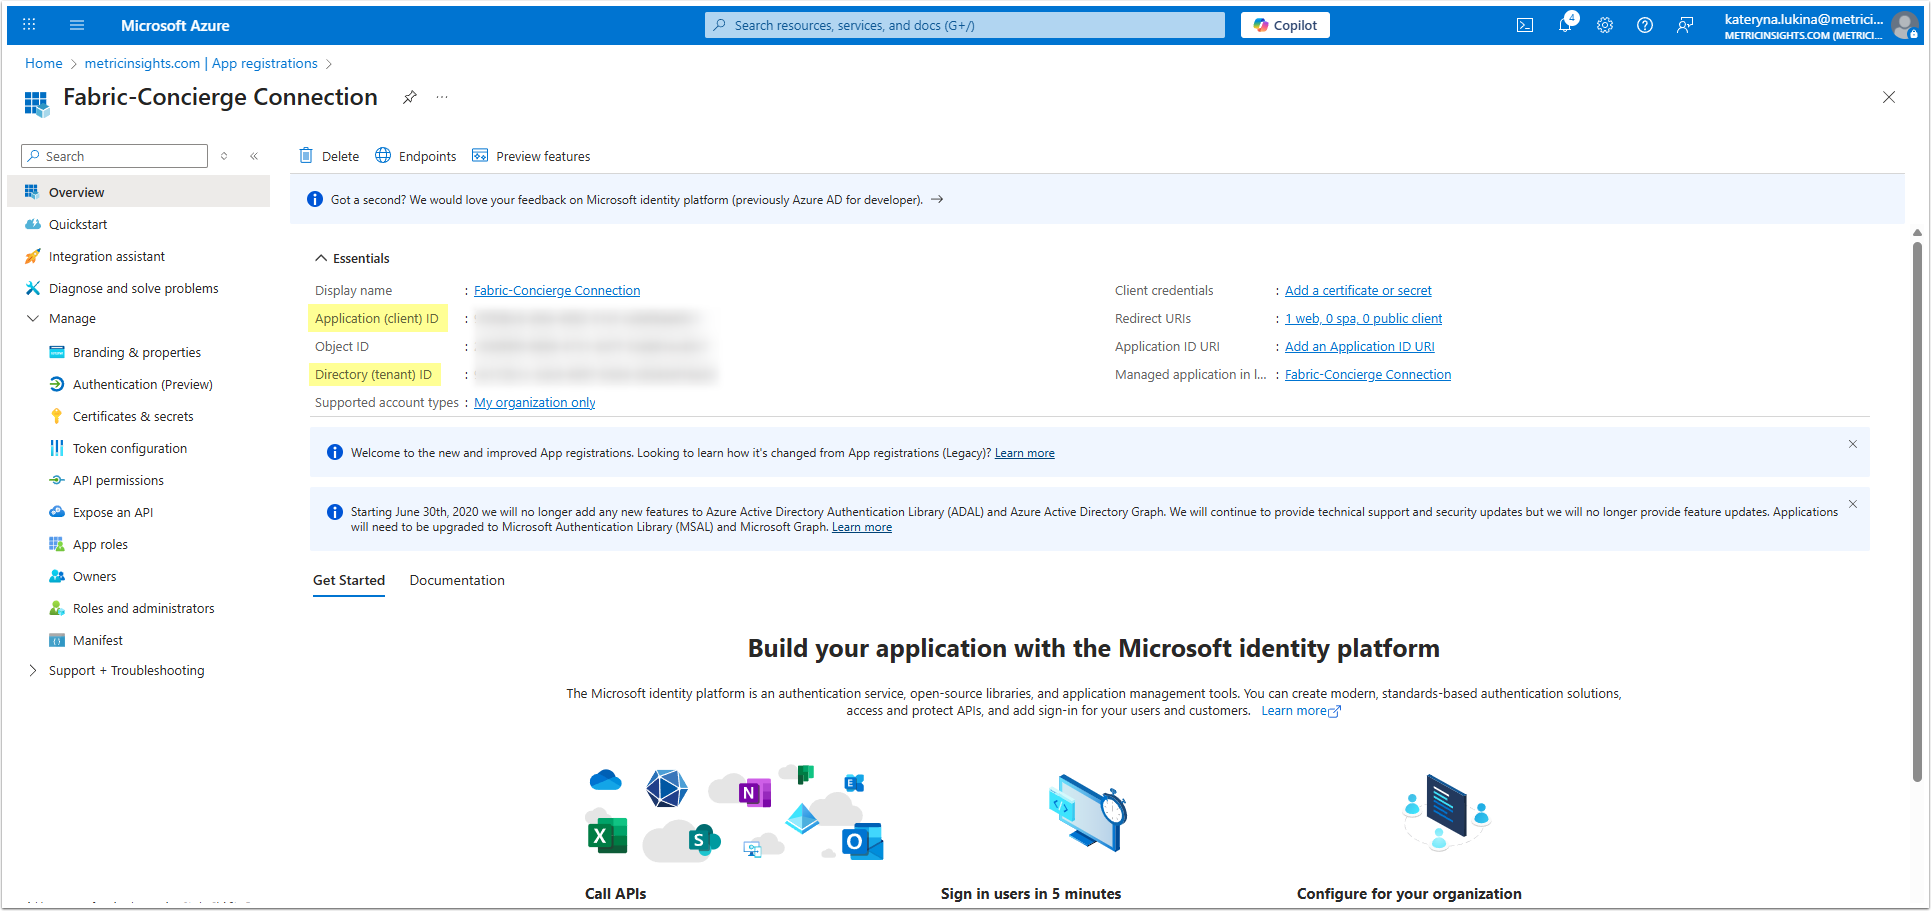
Copy:
- Application (client) ID;
- and Directory (tenant) ID.
5.2. Get Client Secret Value
Access Manage > Certificates & secrets
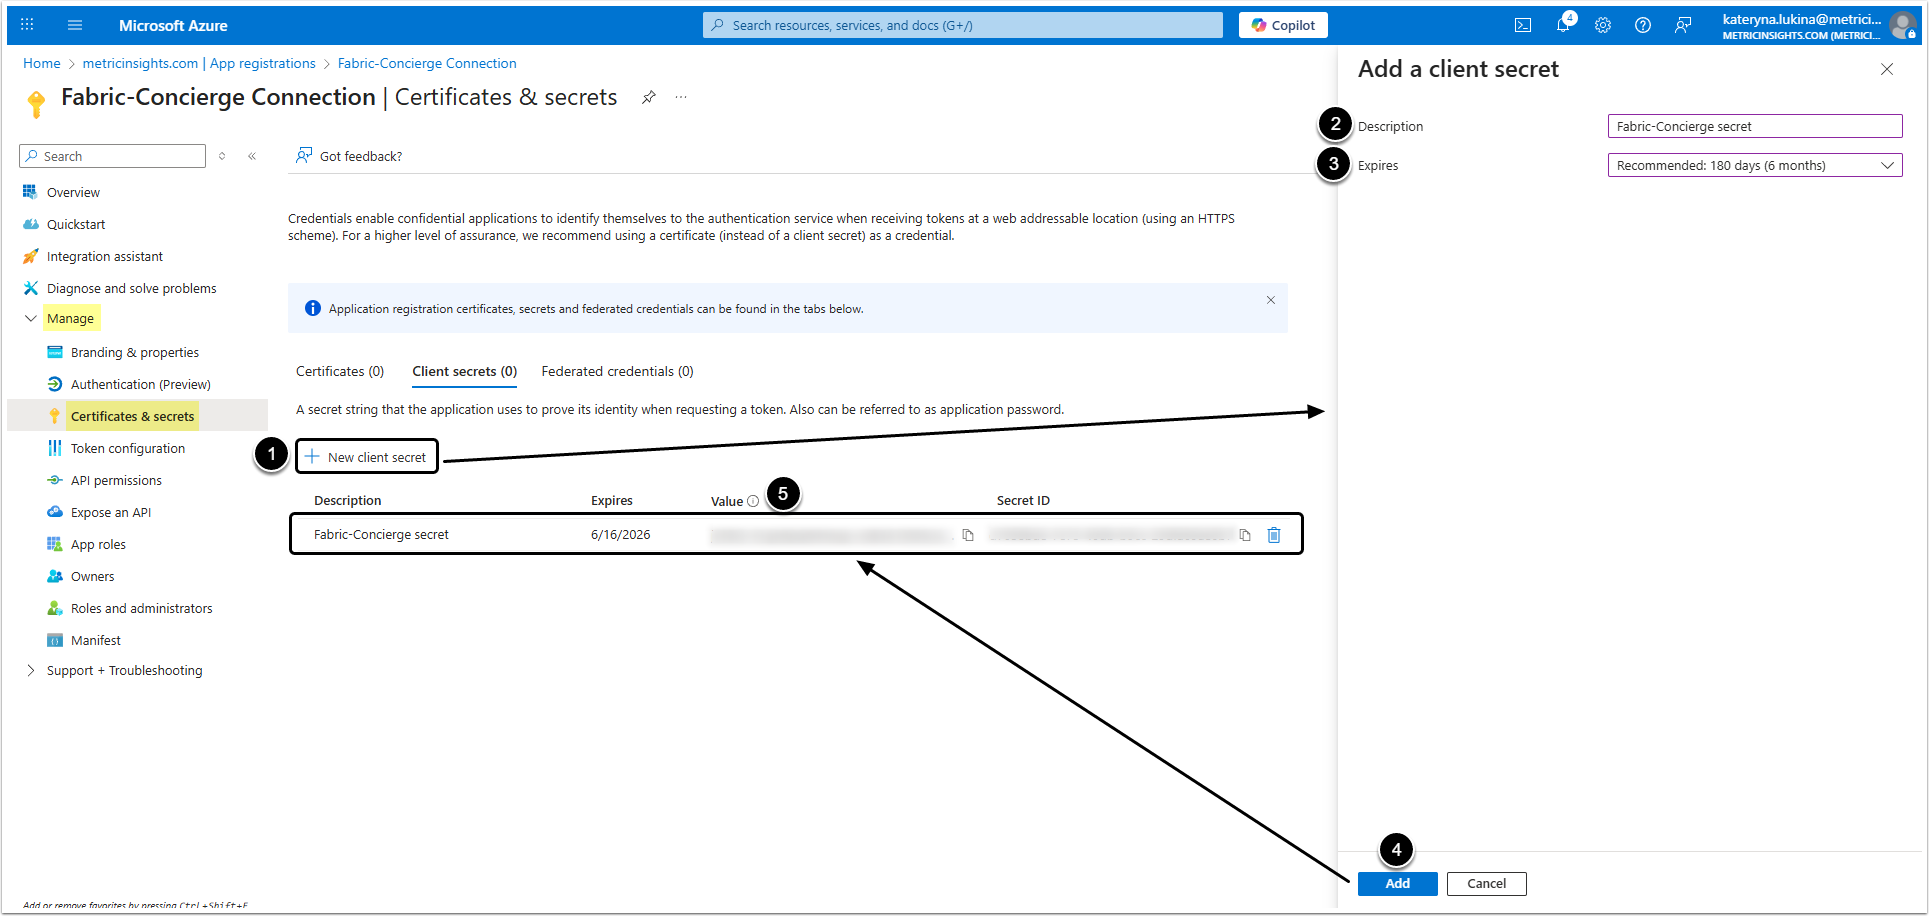
- [+ New client secret]
- Description: Add a description of the secret.
- Expires: Select when the secret expires.
- [Add]
- Copy the Value, that is used in Concierge as the Client Secret Value.
5.3. Get Server
Use "https://api.powerbi.com" server address.
5.4. Check Results
In the end you have to obtain following data:
- Application ID;
- Directory (Tenant) ID;
- Client Secret Value;
- Server.
6. Get Group Name
If you decided to grand users access to Fabric data via a group in Azure, return to the Microsoft Entra ID overview page and proceed to Manage > Groups.
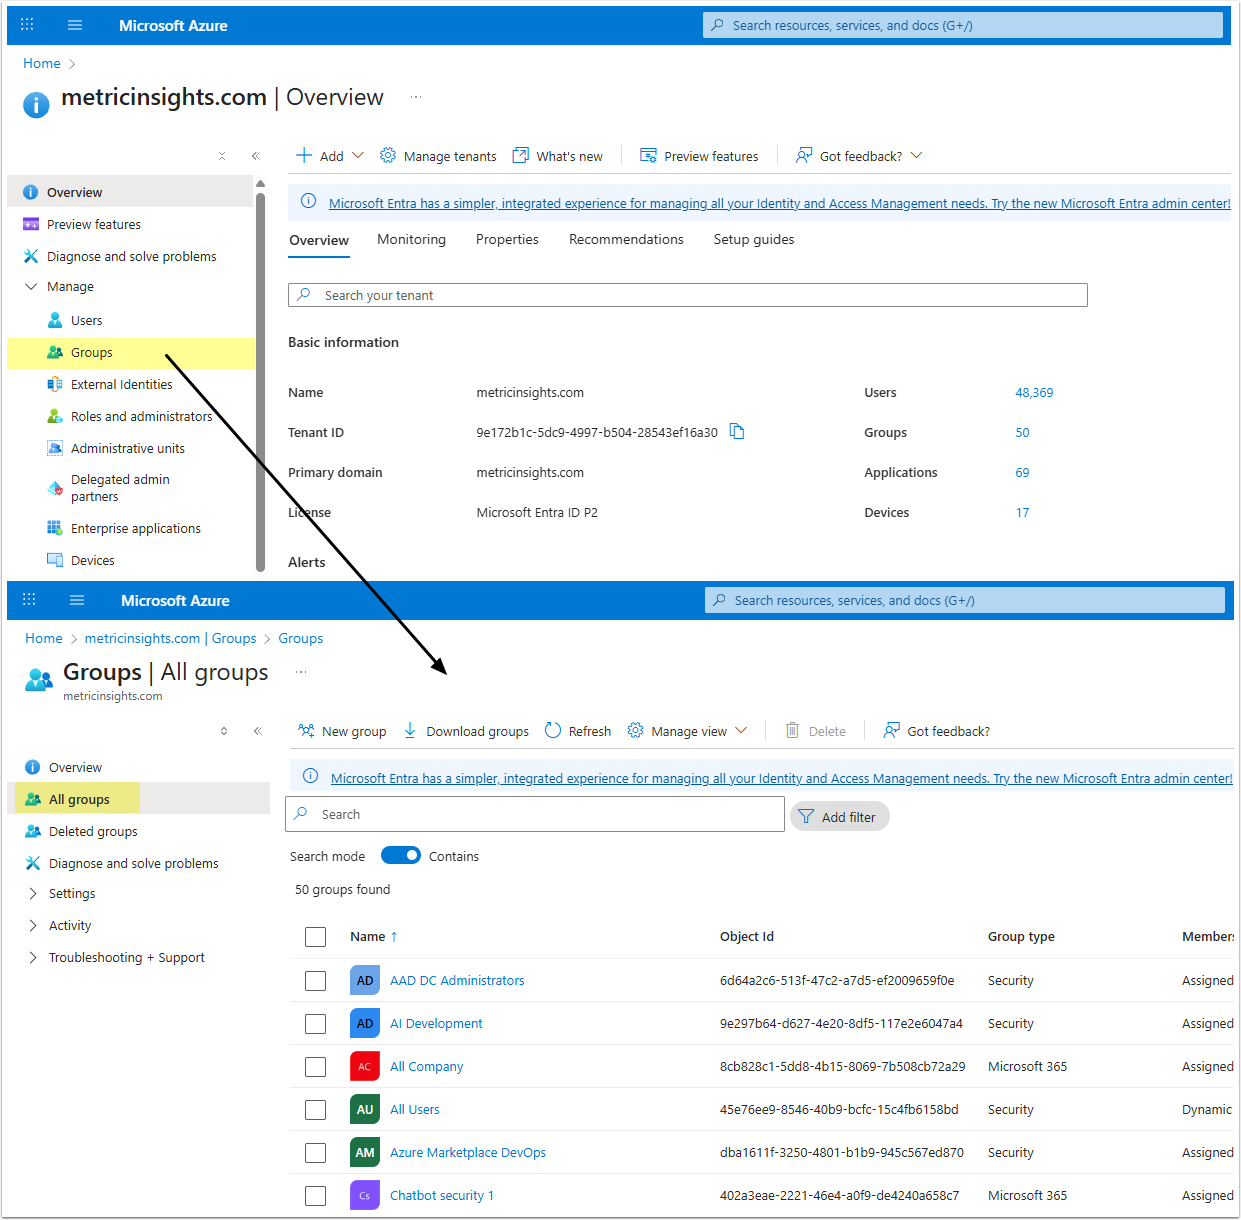
Open All groups tab and find the group of users who will be granted access to Fabric data from Concierge. Copy the group's name.
If you haven't created any groups yet or existing groups can't be used, create a new group. Afterward, copy the group's name.