This article details how an Admin can change a company logo for the default System Brand. This logo will appear on the Catalog/login screen and in Bursts that are using the default Template.
1. Upload New Logo
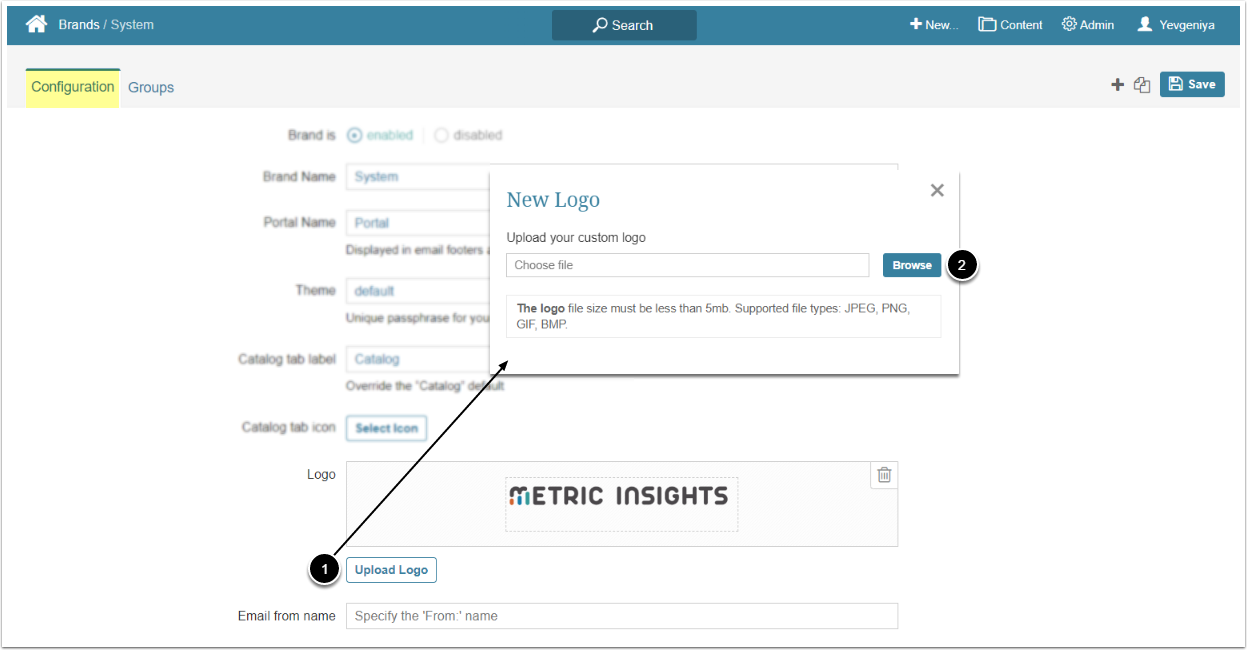
Access Admin > System > Branding > System (default) Name Link
- [Upload Logo]
- Choose the logo file from your computer.
- NOTE: The logo file size must be less than 5MB. Supported file types: JPEG, PNG, GIF, and BMP. Recommended size for Catalog screen is 220x50 pixels.
2. Customize the Look

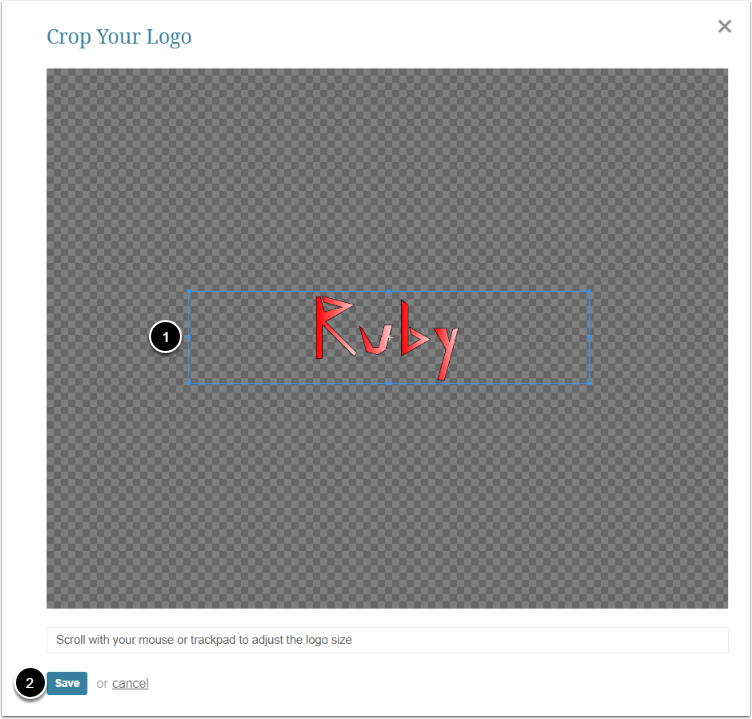
- Crop, zoom in/out, center the image according to your needs
-
[Save]
- This will save the logo changes automatically without the need to additionally save them in the Brand Editor.
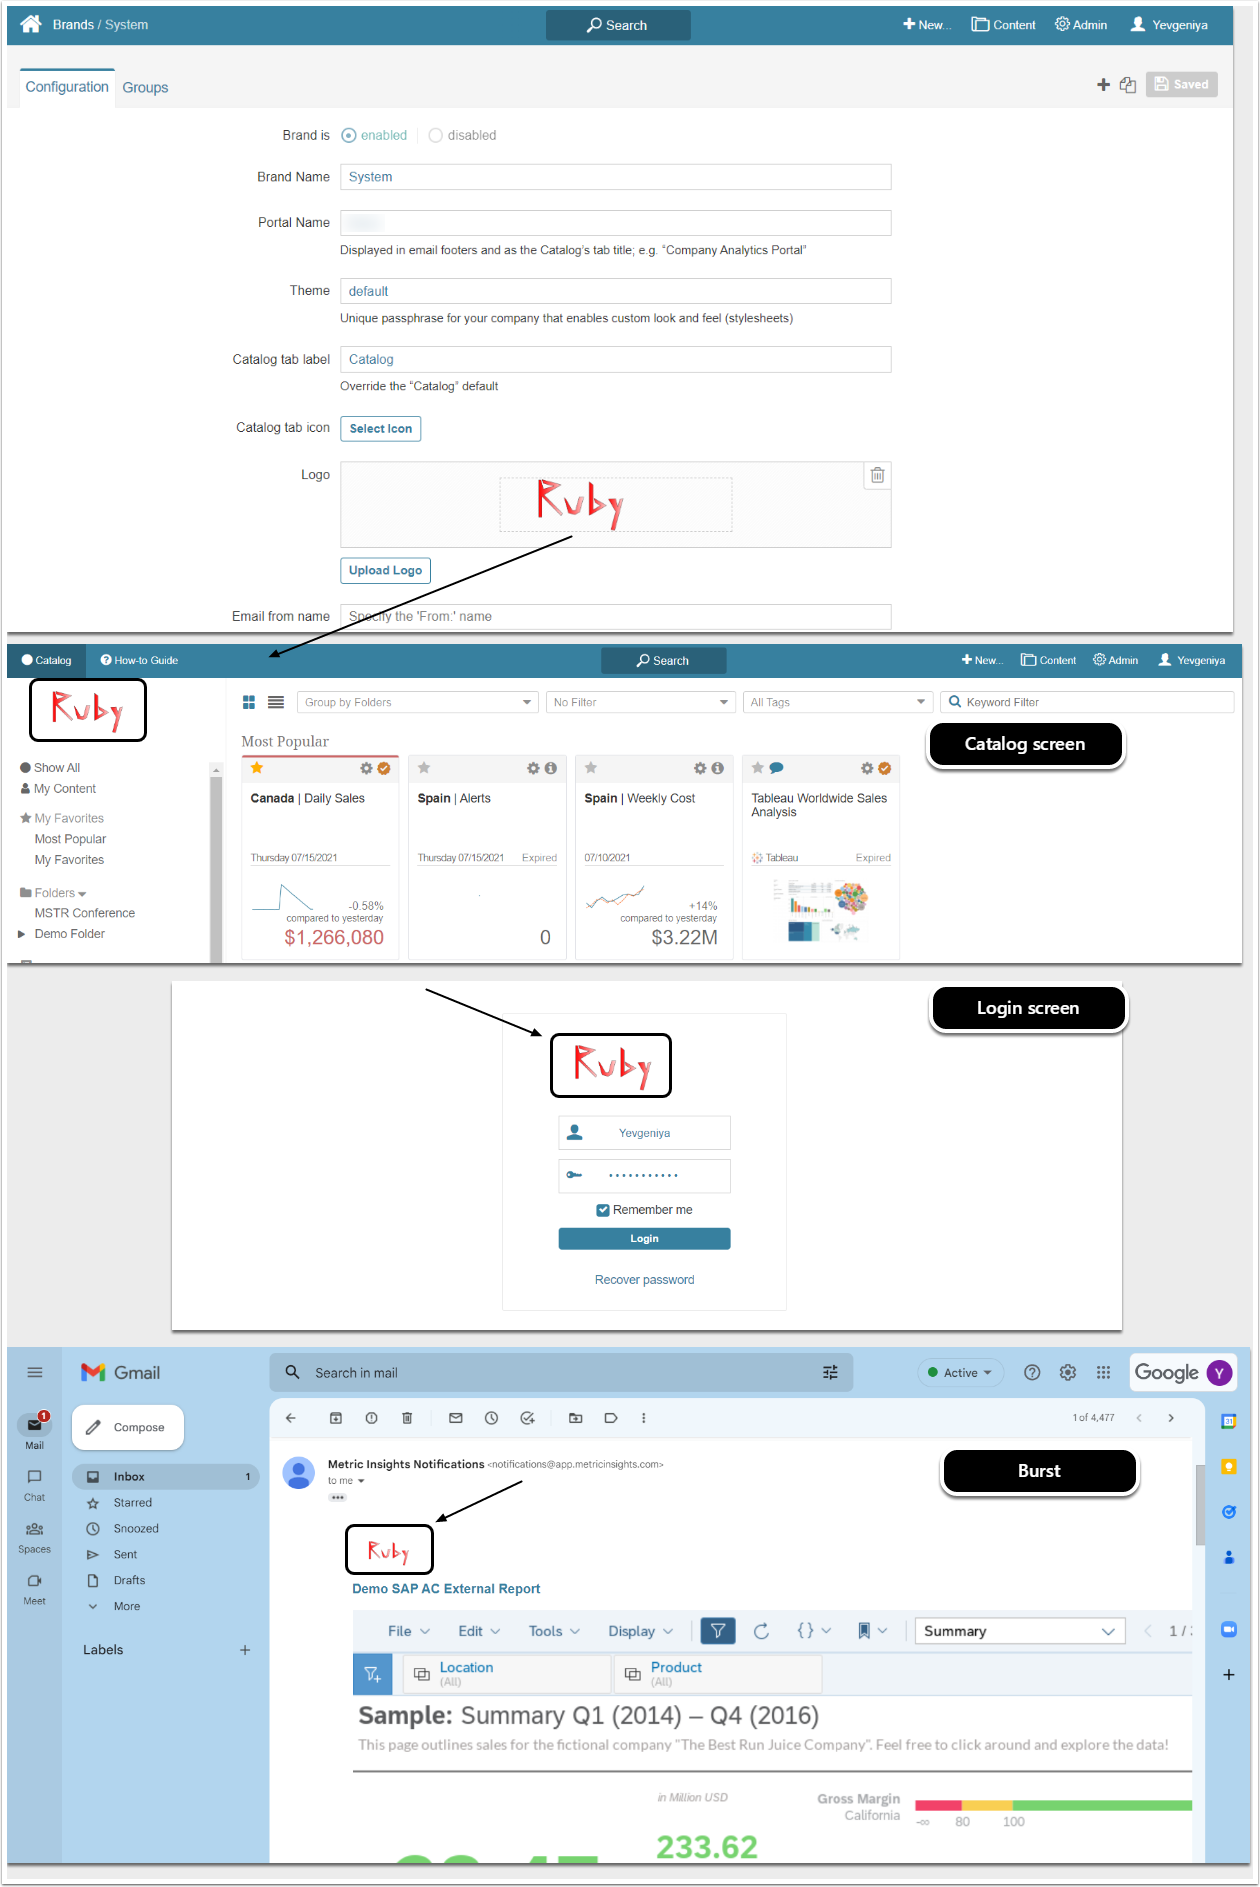
3. Review the Result
The new logo will replace the default one on both Catalog and login screens for all users using the System Brand. It will also appear in Bursts that are using the default Template.
- For more information on creating custom Brands, refer to Multiple Branded Experiences on the Same Instance (v6.3.2+).

