Beginning v7.1.0 Metric Insights application is shipped with a Vagrant configuration file for local application deployment, supporting both x86_64 and ARM64 architectures. Deploying Metric Insights as a local sandbox allows for Custom Script and Portal Page development without connecting to an MI server.
Table of contents:
NOTE: Setup instructions and credentials can be found in the installation package file README.MD.
1. Download Metric Insights Installation Package
Access https://get.metricinsights.com/ to download the Metric Insights installation package.
2. Install Required Software
Download and install the required software based on the system architecture:
x86_64
- Download Vagrant (version 2.3.7 or higher)
- Download VirtualBox (version 7.0 or higher)
- Install Vagrant plugins from the MI installer directory:
vagrant plugin install vagrant-disksizevagrant plugin install vagrant-vbguest
ARM64 (Apple Silicon)
- Download Vagrant (version 2.3.7 or higher)
- Download VMware Fusion
- Download Vagrant VMware Utility
- Install vagrant-vmware-desktop plugin via:
vagrant plugin install vagrant-vmware-desktopAlternatively, install all the required software using brew:
brew install --cask vmware-fusion
brew install --cask vagrant
brew install --cask vagrant-vmware-utility
vagrant plugin install vagrant-vmware-desktop3. Start Virtual Machine from MI Installer Directory

NOTES (For ARM64 machines):
- Vagrant automatically uses VMware Fusion as the provider.
- The application can be accessed via both the VM's IP address and localhost, thanks to port forwarding.
- Ports 80 and 443 are automatically forwarded from the VM to the host.
- Start the virtual machine from the MI installer directory where the Vagrantfile is located:
vagrant up - Once the virtual machine is running, access the application via the Application access URL
- For ARM64, the application can be also accessed via
https://localhost.
- For ARM64, the application can be also accessed via
Virtual Machine Commands Cheat Sheet
- Start the virtual machine:
vagrant up- Stop the virtual machine:
vagrant halt- Restart the virtual machine:
vagrant reload- Destroy (delete) the virtual machine:
vagrant destroy- Access the virtual machine via SSH:
vagrant sshCustom Configuration
To customize the virtual machine's settings, create a vagrant.config file in the project directory. Below are the available options you can configure:
-
vm_ip: Set the IP address of the virtual machine (default:
192.168.192.10) -
installer_options: Additional options for the installer script (default:
--bind-address 0.0.0.0) -
vm_cpus: Number of virtual CPUs allocated to the VM (default:
4) -
vm_memory: Amount of memory (in MB) allocated to the VM (default:
8192)
Example vagrant.config:
vm_ip = "192.168.192.100"
installer_options = "--bind-address 0.0.0.0 --verbose"
vm_cpus = "2"
vm_memory = "8192"4. Access Metric Insights Application
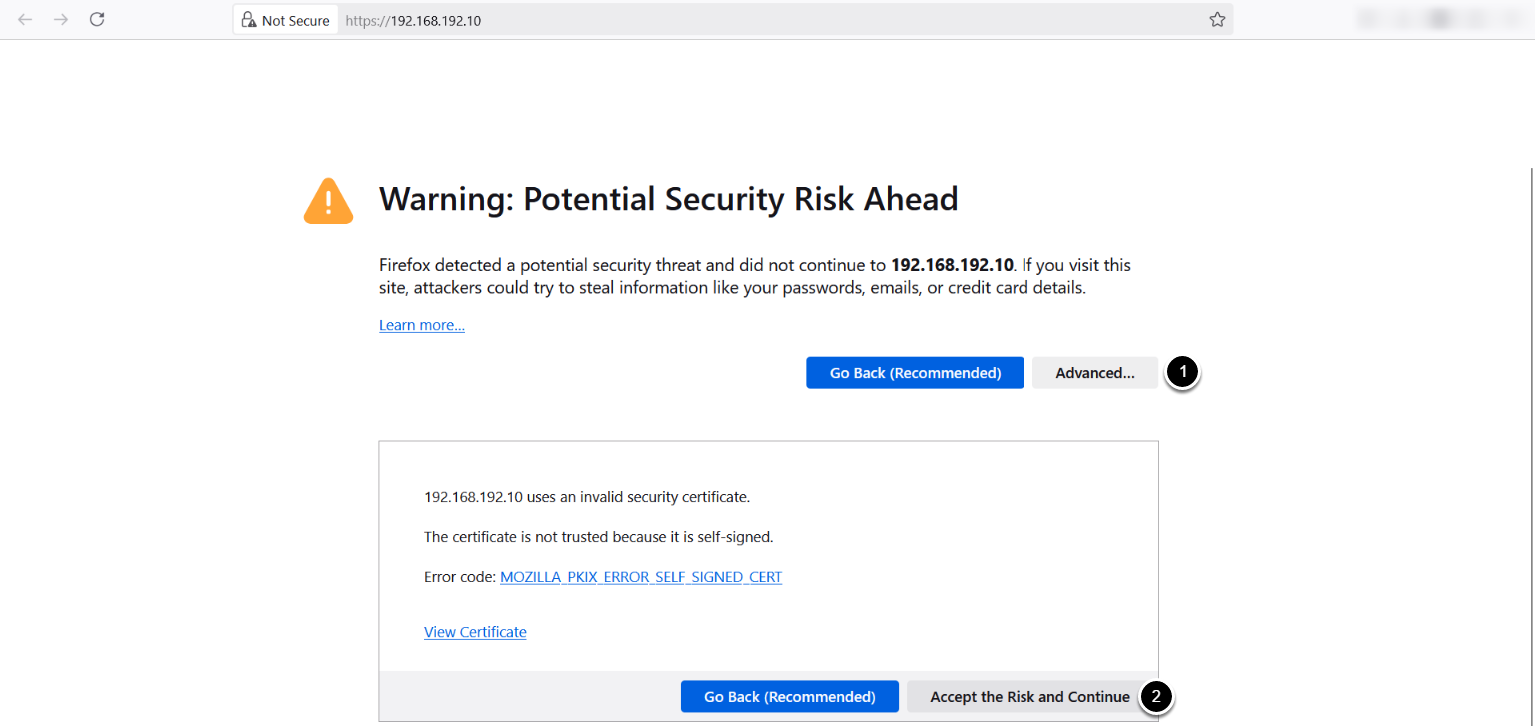
Depending on your browser you will likely get an SSL warning. This is because the Metric Insights server ships with a default self-signed certificate. Accept the warning to get to the login prompt:
- [Advanced]
- [Accept the Risk and Continue]
5. Log into Metric Insights
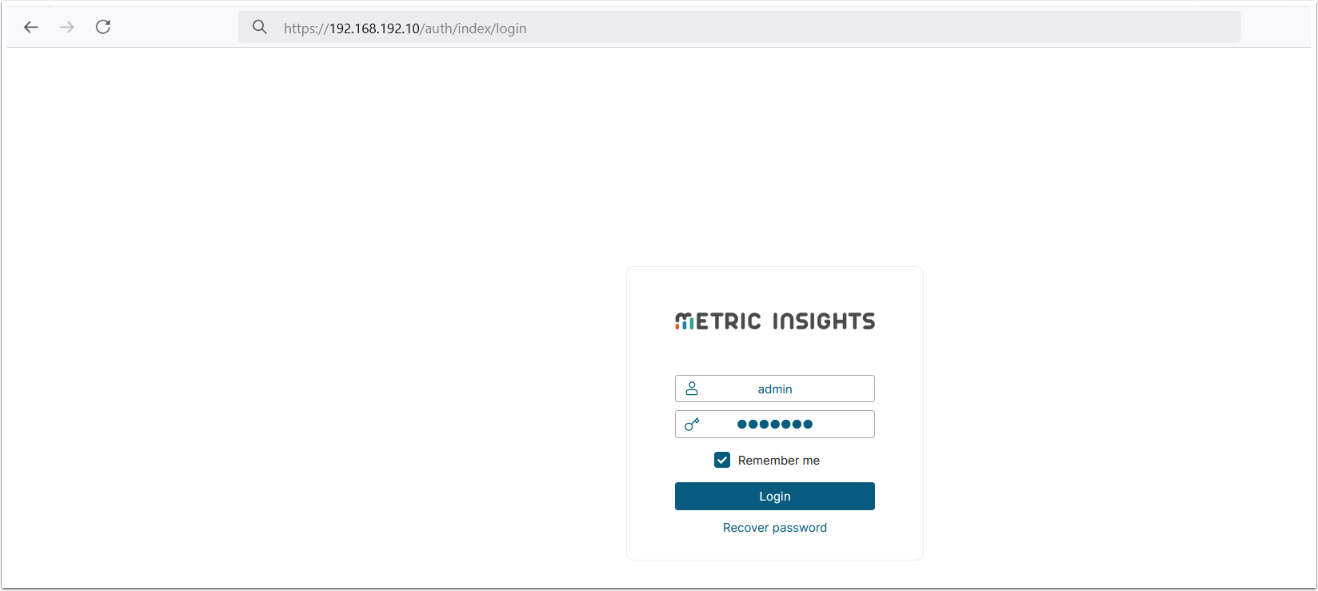
Log in using the default credentials provided in the README.MD file.
6. Architecture-Specific Details
ARM64
- VMware Fusion is used automatically when running on ARM64 architecture.
- Ports 80 and 443 are forwarded from the VM to the host, allowing application access via both the VM’s IP address and localhost.
- Ensure that the vagrant-vmware-desktop plugin is installed.
x86_64
- VirtualBox is used as the default provider.
- The application can be accessed using the VM's IP address.