This article explains how to create a Denodo Dataset and a Report from it.
PREREQUISITE: Established connectivity to a Denodo server.
1. Create New Dataset
Access New > Dataset > Create New
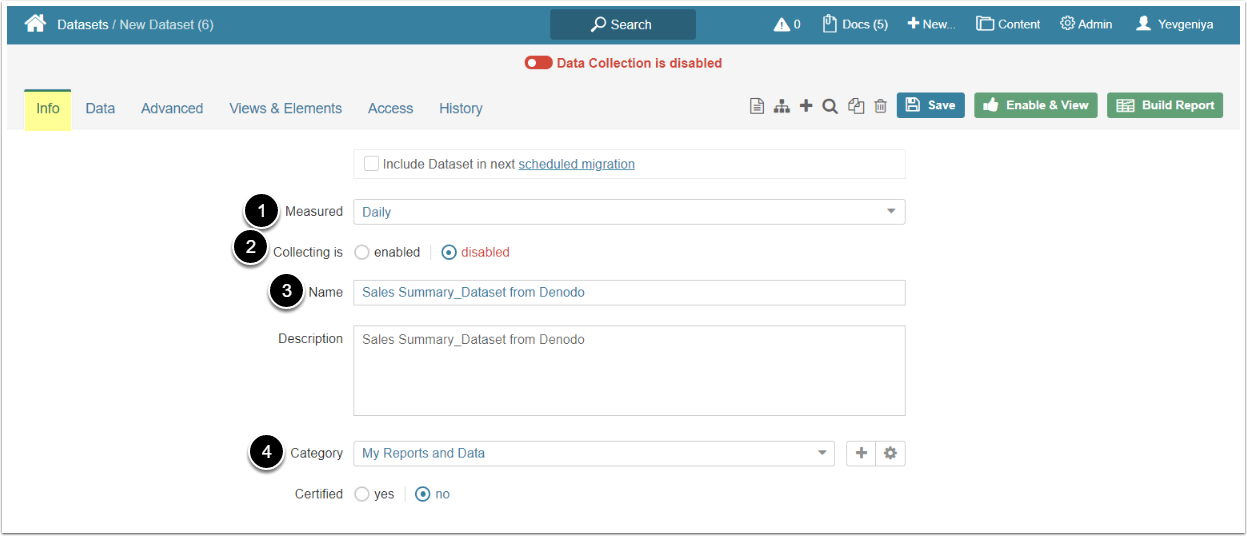
- Select the measurement interval that applies to the level of aggregation that you want in your result set
- Data collection is disabled by default to make sure that you can take time to configure the Dataset properly before enabling. This setting is duplicated at the top of the screen.
- Provide a descriptive name for your Dataset. You can provide any additional information about your Dataset in Description.
- Specify Category where your Dataset will be placed
- Move to the Data tab to define the source of data and how often it should be updated
2. Specify Details for Data Collection
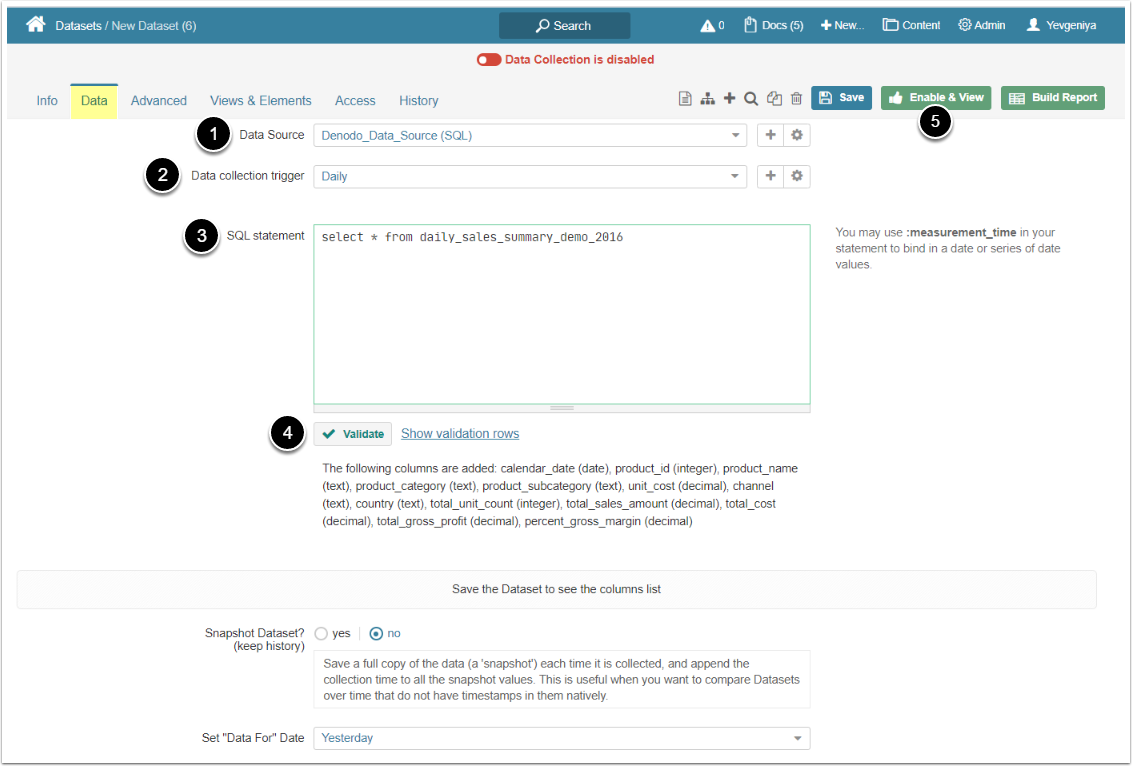
- Select a Denodo connection profile
- Specify the Trigger that will be used to collect data for the Dataset
- Input an SQL statement to fetch data from Denodo
- [Validate]
- [Enable & View] to proceed to Dataset Viewer
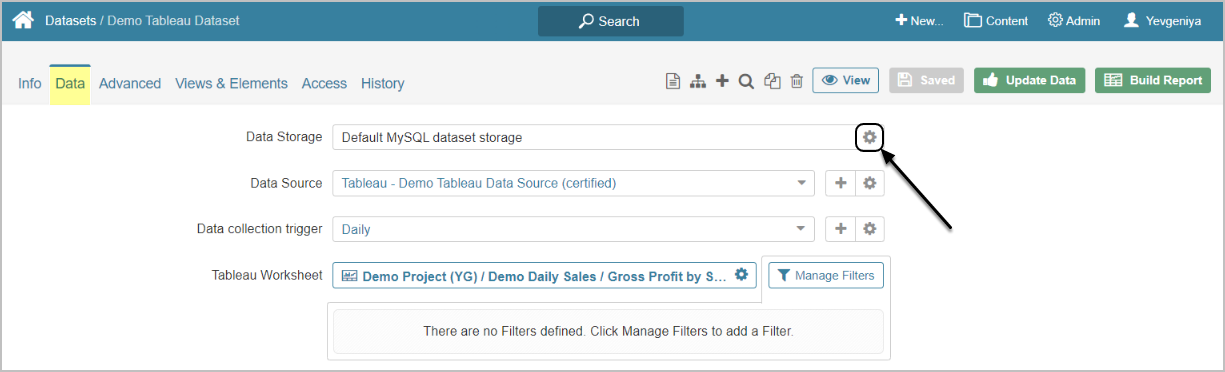
[6.3.1] Datasets can be moved between the available Data Storages. The screen below shows Tableau, but the functionality is essentially the same for all Plugins.
Click the Edit icon next to the Data Storage on Data tab and follow the prompts to complete the operation.
3. Create a Report from Viewer
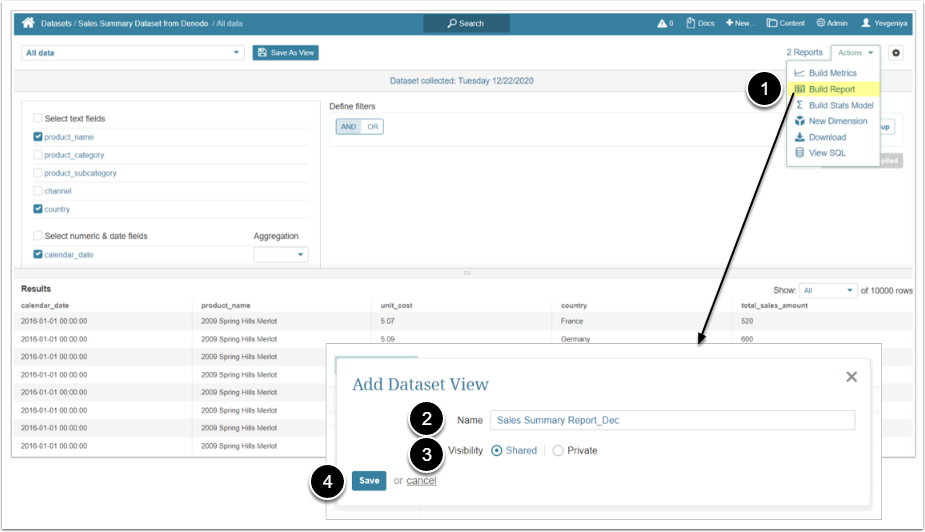
- From the Actions menu, select Build Report
- Name the current Dataset View
- Specify Visibility
-
"Shared": Can be created by Admins and Power Users with the appropriate Privileges and Permissions and accessed by anyone who can view the Dataset
- Metrics and Reports can be created only from Shared Views
- "Private": Can only be accessed by Admins or the user who created the View
-
"Shared": Can be created by Admins and Power Users with the appropriate Privileges and Permissions and accessed by anyone who can view the Dataset
- [Save] to generate the Report
Once the Report Editor opens, [Save & View] in the upper right corner.