This article details how to create External Report from Zendesk Explore.
PREREQUISITES:
1. Create New External Report
Access New > External Report > Zendesk Explore
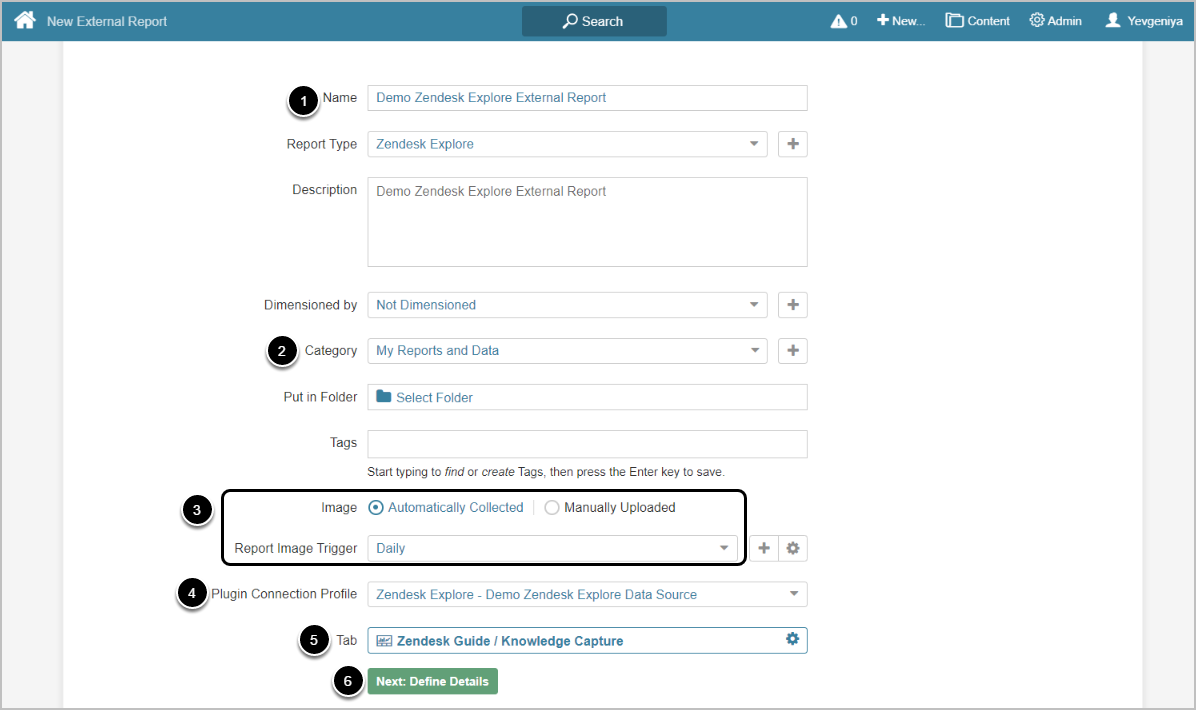
- Enter a descriptive phrase in Name
- Specify Category where External Report is to be placed
- Define whether content has to be updated manually or automatically
- For "Automatically Collected", specify Report Image Trigger
- Select Zendesk Explore Plugin Connection Profile
- Choose Tab (object) for External Report
- [Next: Define Details]
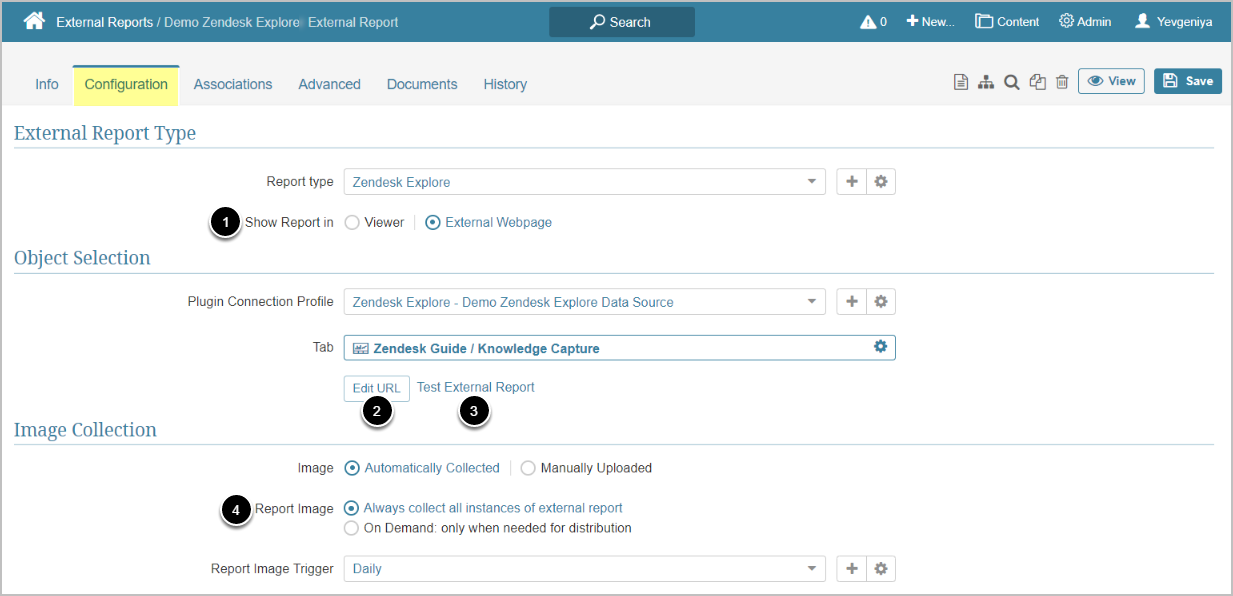
2. Specify Report Details
-
Show Report in defaults to "External Webpage".
- You can choose Show report in Viewer "as static image", but it is recommended to use the default option.
- NOTE: Zendesk Explore Plugin does not currently support Show Report in Viewer "in iframe"option.
- Optionally, [Edit URL] to modify the URL by appending a question mark (?) followed by any filter or parameter settings
- Optionally, [Test External Report] to test how your Report will be displayed on External Webpage or in Viewer, depending on the display option selected in the previous step
- Select Report Image option:
- "Always collect all instances of external report": collect all images and cache them on a schedule
- "On Demand: only when needed for distribution": individual images are only collected when they need to be included in an email
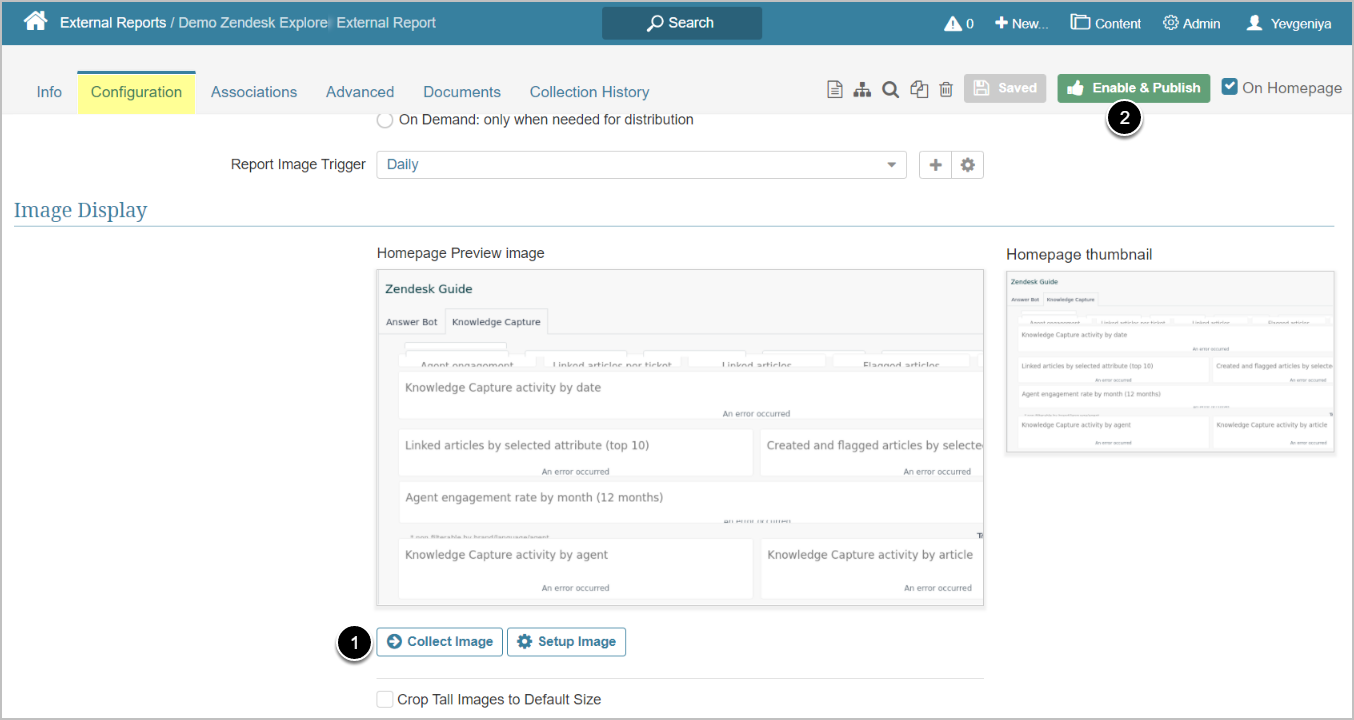
3. Collect Image and Publish
-
[Collect Image]
- For more details on Setup Image, refer to this article.
- [Enable & Publish] to proceed to Viewer