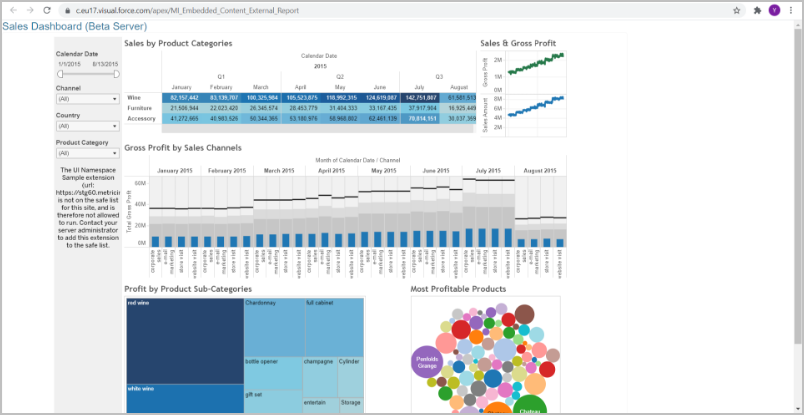
Metric Insights Tiles, Preview, Full Chart View, and the entire Viewer can be embedded in Visualforce Pages.
PREREQUISITES:
- Embedding must be enabled both for MI and external application that is used as Data Source for Object creation. See the below section for instructions on how to enable embedding on the MI side.
Enabling Embedding for Metric Insights
By default, Metric Insights restricts embedding of its Objects in external applications, but it can be enabled by adding custom configuration to web service:
- Enter the web Container:
sudo mi-web - Open
metricinsights-custom.confin an editor:vim /etc/apache2/mi.conf.external.d/metricinsights-custom.conf - Enter the code below to disable the
x-frame-options: "SAMEORIGIN"setting, then save and exit:
Header unset X-Frame-Options
Header append Content-Security-Policy "frame-ancestors 'self' <required domain name, where MI content will be embedded>;"NOTE:
- In some cases, it is required only to disable x-frame-options. We recommend trying both approaches to see which one works for you.
- Pay particular attention to
<required domain name, where MI content will be embedded>. This is where you specify domainB.com for example (the site where MI content will be embedded):
Header unset X-Frame-Options
Header append Content-Security-Policy "frame-ancestors 'self' domainB.com;"- Restart the Apache server from the web container:
service apache2 restart
1. Finding Embed Codes
This article describes how to embed External Report as an example. For more details on how to find embed codes in Metric Insights, see Embedding Overview.
Open the Editor of the Object that has to be Embedded. In this case it is External Report Editor. Proceed to Advanced tab.
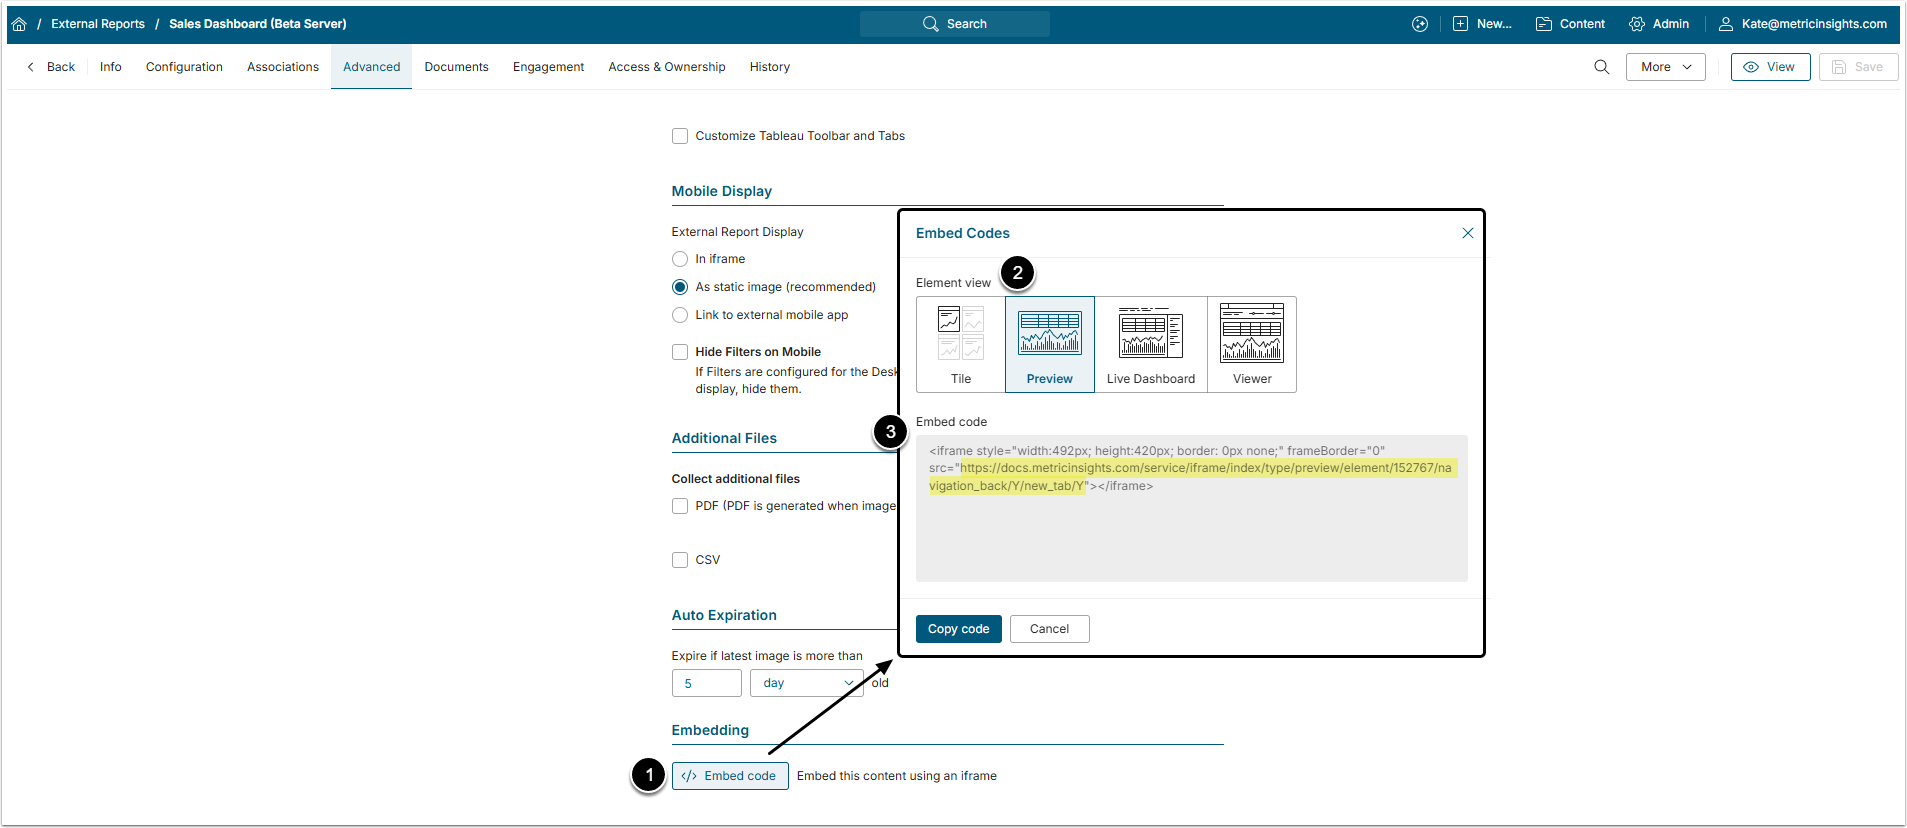
- Click [Embed Code] in Embedding section.
- Element view: Select the way the Element will look after embedding.
- Copy URL form the Embed code field.
2. Access Visualforce Pages in Salesforce
Access Setup > Home from Salesforce UI
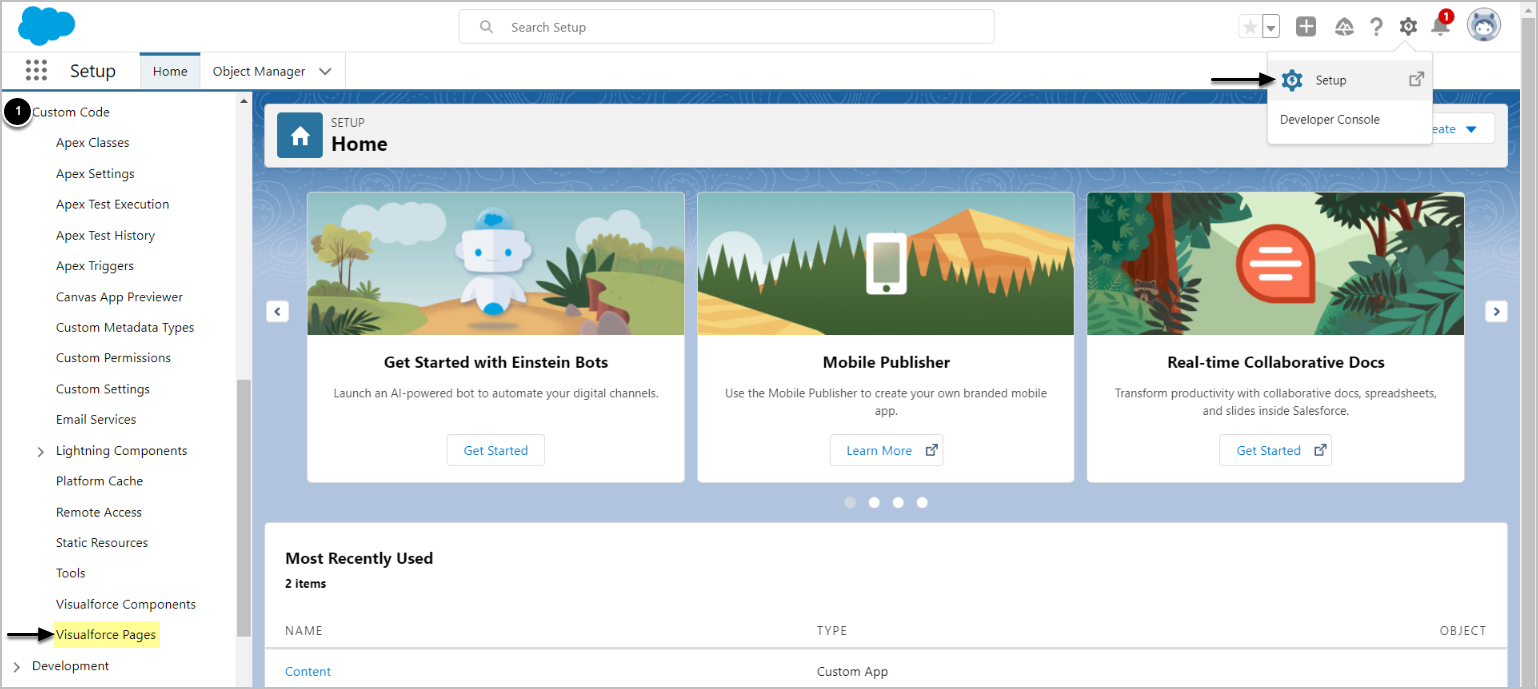
Under Custom Code, find Visualforce Pages.
3. Add New Page
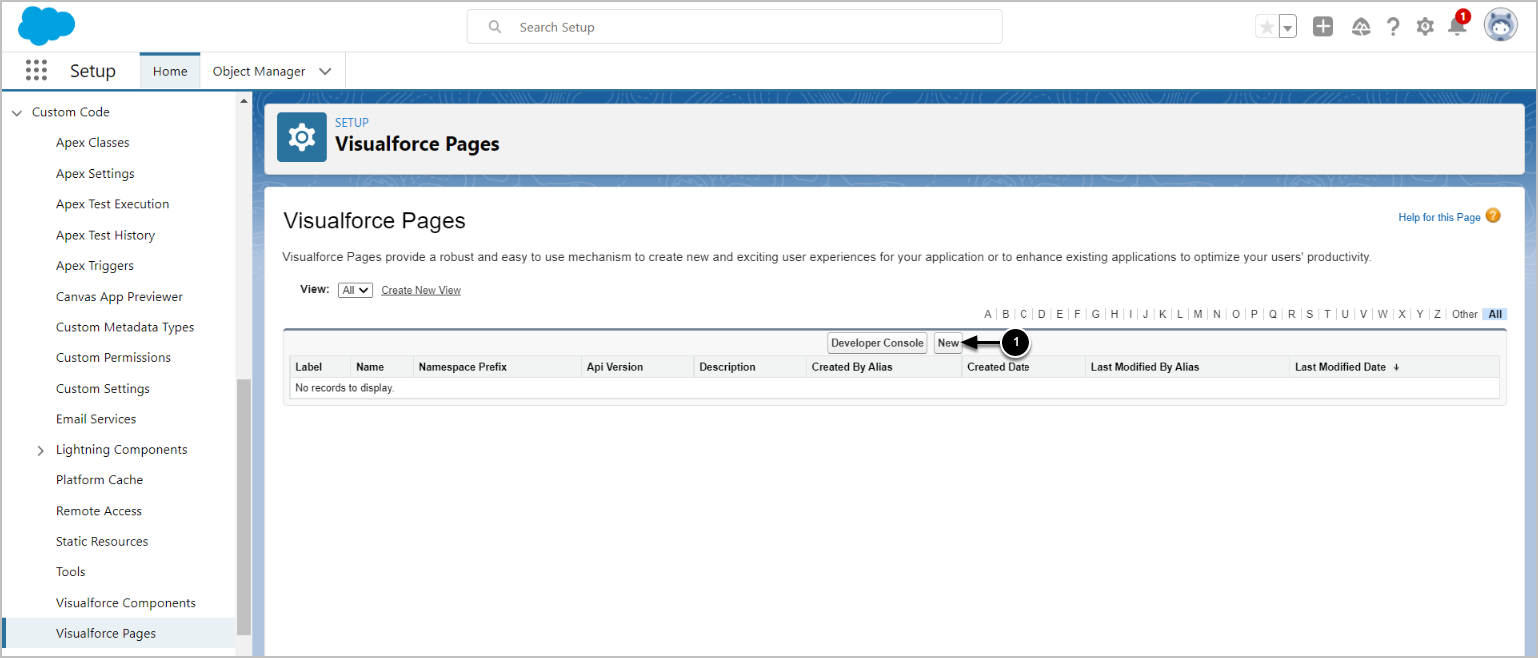
Click [New] to access the Page editor.
4. Provide Details
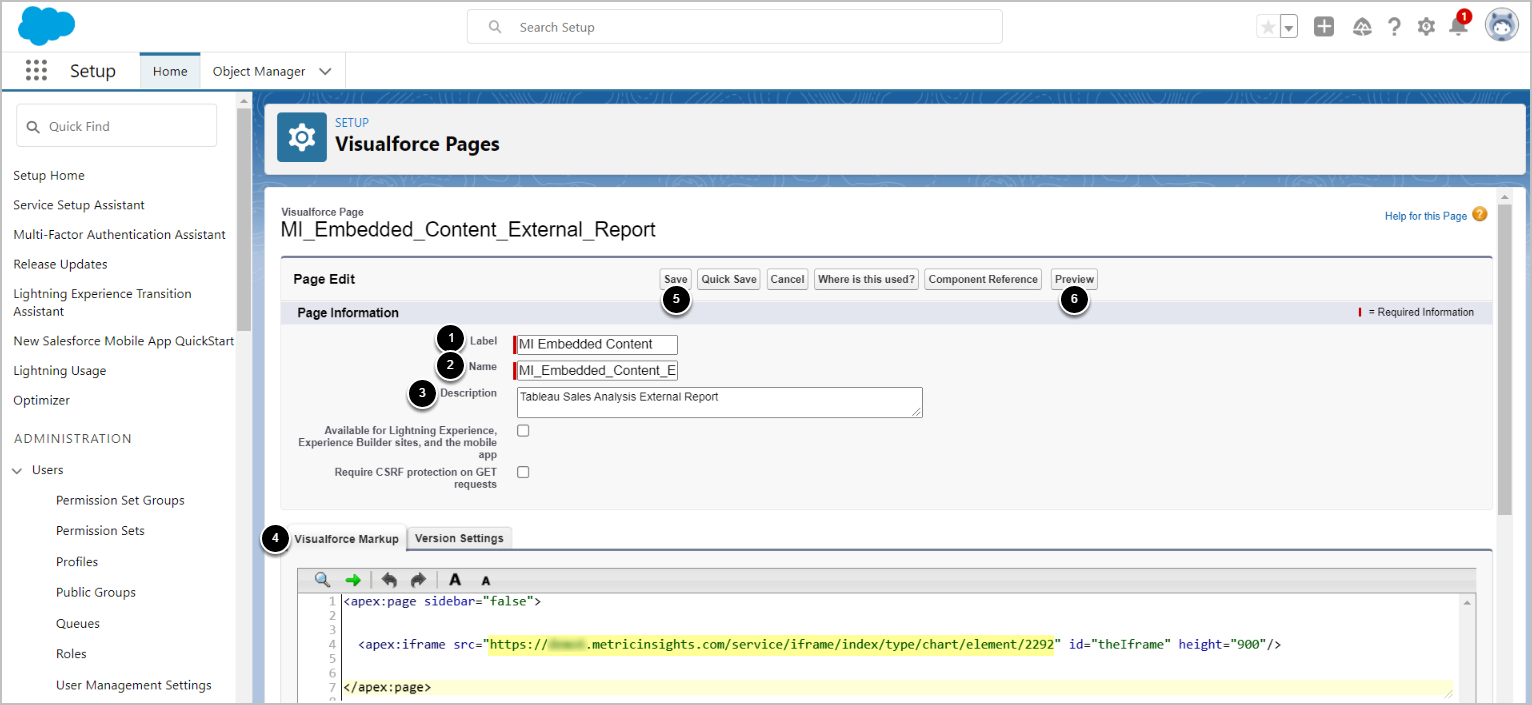
- Add Label for the Page.
- Input a descriptive phrase in Name.
- NOTE: The name can only contain underscores and alphanumeric characters. It must begin with a letter and be unique, and must not include spaces, end with an underscore, or contain two consecutive underscores.
- Optionally, add Description.
- Use the Visualforce Markup Language to create the Page.
- Insert the URL copied from Embed code field.
- [Save]
- [Preview]
5. Verify the Result