This article will show you how to create a Dataset using a UptimeRobot Data Source. It assumes that you have already established connectivity to UptimeRobot.
1. Create New Dataset
Access New > Datasets > Create New
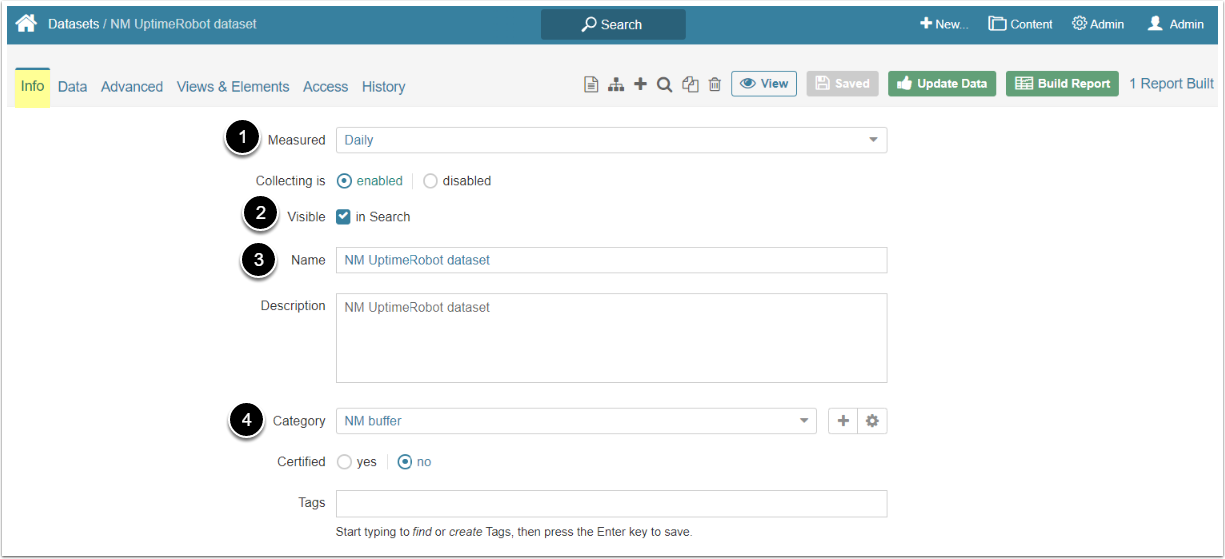
- Measured: Select the measurement interval that applies to the level of aggregation that you want in your result set
- Visible: Define if Dataset should be searchable
- Name: Input a descriptive name
- Category: Specify Category to place the Dataset
2. Define Settings for Data Collection
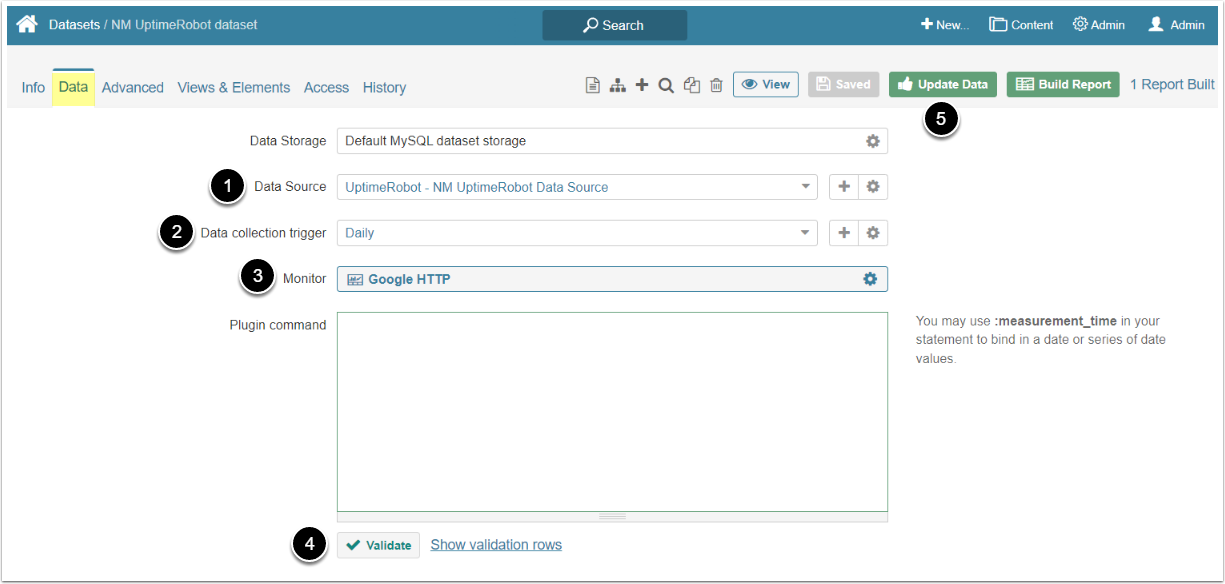
- Data Source: Select the UptimeRobot Data Source
- Data collection trigger: Choose the Trigger that will be used to collect data for Dataset
- Monitor: Select the UptimeRobot file that should serve as a basis for Dataset
- [Validate]
- [Enable & View] to proceed to Dataset Viewer
NOTE: External Reports can't be created from UptimeRobot Datasets.